


How To Make Your Windows 10 A Retro Gaming Computer with RetroArch and EmulationStation

How T Make Your Windows 10 A Retro Gaming Computer with RetroArch and Emu;ationStation
Introduction
Admit it, you miss the days of playing NES, SNES, N64, Atari etc.. Going to the Arcade or playing the old console games on your TV. Well, it is possible to relive those moments on your Windows 10/11 system with many emulators available . In this post we will cover using RetroArch and EmulationStation to do just that.
Installation
Installation is straight forward. For this post we are installing on a laptop running Windows 11, with 16 GB of RAM and just the built in graphics card. In this case an Intel Iris Plus.
EmulationStation Installation
First step is to download and install EmulationStation. Download the correct Windows version of EmulationStation from here. Once the download has completed it is time to install.
Double-click on the downloaded file to start the installation.
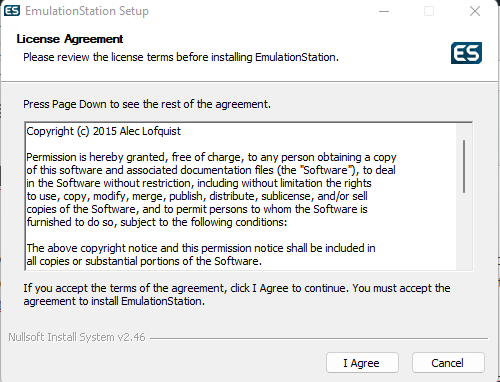
Click I Agree to continue.
At this point we will make a change to the destination directory for EmulationStation. In order to prevent any permissions issues change the installation destination to C:\EmulationStation.
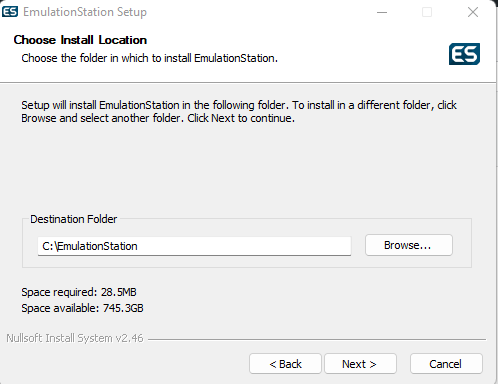
Click Next.
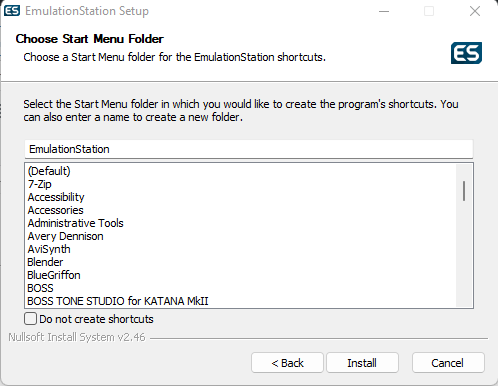
Click Install.

Click Finish.
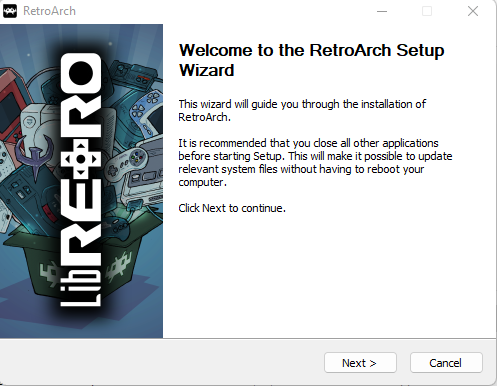
RetroArch Installation
Now we are ready to install RetroArch. Download RetroArch from here. Navigate down the page and click on Download Stable.
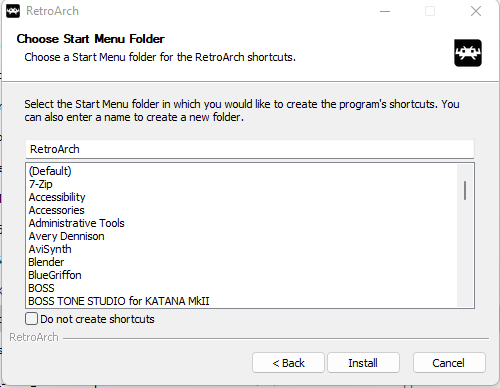
Double-click to start the installation of RetroArch.
Click Next
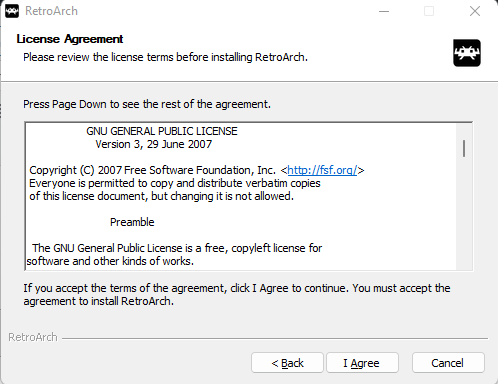
Click I Agree
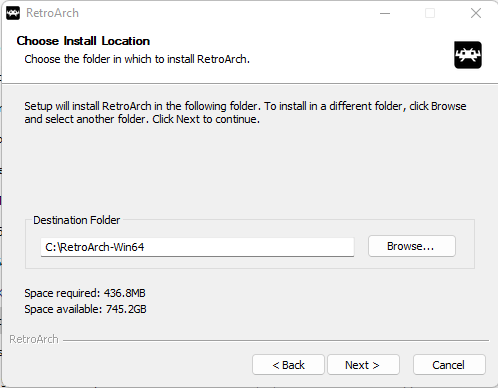
Click Next
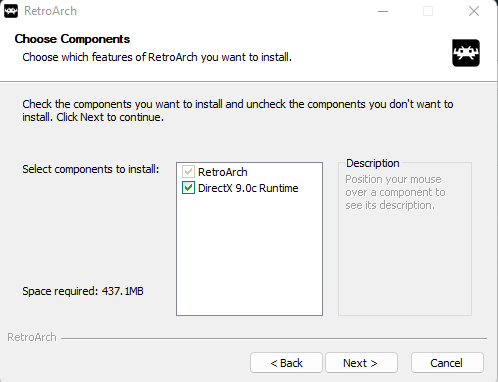
Click DirectX 9.0c Runtime then click Next.
Click Install. click Finish when completed.
RetroArch Configuration
Now we need to configure a few settings on RetroArch before we can move onto EmulationStation. First piece of the puzzle to configure is Cores. The cores you install will depend on what emulation you plan to run. For this post we will be loading a NES style game.
From the main menu of RetroArch select Load Core.

Next screen select Download a Core

Since we are looking for NES emulator scroll down until you see Nintendo – NES / Famcom (FCEUmm). When selected RetroArch will download the core. While in this screen you can select other cores. Some recommended are:
- Nintendo – SNES / SFC (Snes9x – Current)
- Nintendo – Game Boy Advanced (mGBA)
- Nintendo – Nintendo 64 (Mupen64Plus-Next)
- Nintendo – Gamecude / WII (Dolphin)
- Atari – 2600 (Stella)
- Atari – 7800 (ProSystem)
Next step is to create the directories for the roms. For ease of use create a roms directory under C:\RetroArch-Win64. Under roms create the directories for each emulators roms. A few examples.
- nes
- snes
- n64
- gba
- atari2600
- atari7800
EmulationStation Configuration
Now that we have our cores it’s time to create the EmulationStation configuration file to tell it where the emulators and roms live. The file is called es_systems.cfg and is located in a hidden directory called .emulationstation under your user directory. So, the complete path to the .emulationstation folder is %HOMEPATH%\.emulationstation.
This is the main configuration file for EmulationStation. It is located at ~/.emulationstation/es_systems.cfg . It is an XML document that defines a list of systems . A system contains the minimum information required to find your games and start them.
Example for NES.

All of the systems are contained within <systemList></systemList>. A great more detail on all the settings and options on the es_systems.cfg can be found here.
With the general configurations done you can now start Emulationstation. You will not have any roms but there is a good free NES rom called Nova the Squirrel. Download the nes file and copy to C:\RetroArch-Win64\roms\nes.
Start Emulationstation
Now that we have a game lets start Emulationstation, configure a controller. Double-click on Emulationstation to start up.
Since this is the first time Emulationstation has been started you will get a screen wanting to configure your game controller. Follow the prompts to configure the controllers. If there is a controller button you don’t have just hold down any button to move on.
Once the input has been configured you will see the games you have installaed available for play. Select the game and start playing.
Free ROMs
There are several places where Free ROMs are available. There are still developers making games for various platforms. here are a few links
NES
https://novasquirrel.itch.io/nova-the-squirrel
SNES
https://superbossgaiden.superfamicom.org/
Anguna (Nintendo DS, Gameboy Advance)
http://www.tolberts.net/anguna/
Homebrew Legends
https://www.homebrewlegends.com/


Leave a Reply