


How To Use A Raspberry Pi as a Web Server
The Raspberry Pi is a wonderful little device. A powerful compact computer that is quiet and low power consumption makes it nice for many tasks. One such for me is a web server with PHP and MySQL. In this post that’s exactly what we are shooting for, a web server.
First let’s make sure we are up to date.
$ sudo apt-get update
Install Apache and PHP
$ sudo apt-get install apache2 php5 libapache2-mod-php5
Now lets install MySQL to complete the LAMP server.
$ sudo apt-get install mysql-server mysql-client php5-mysql
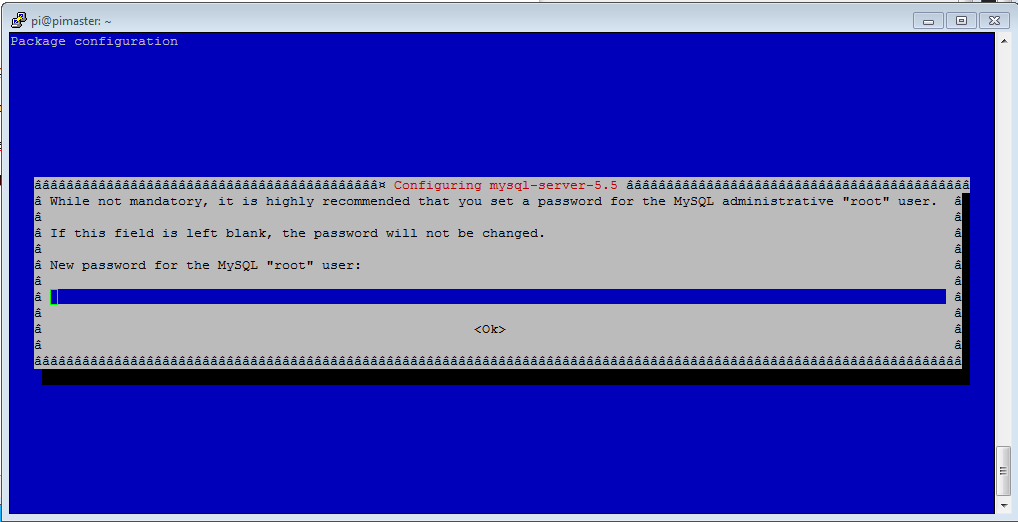
During the installation we will be prompted for the MySQL root password.
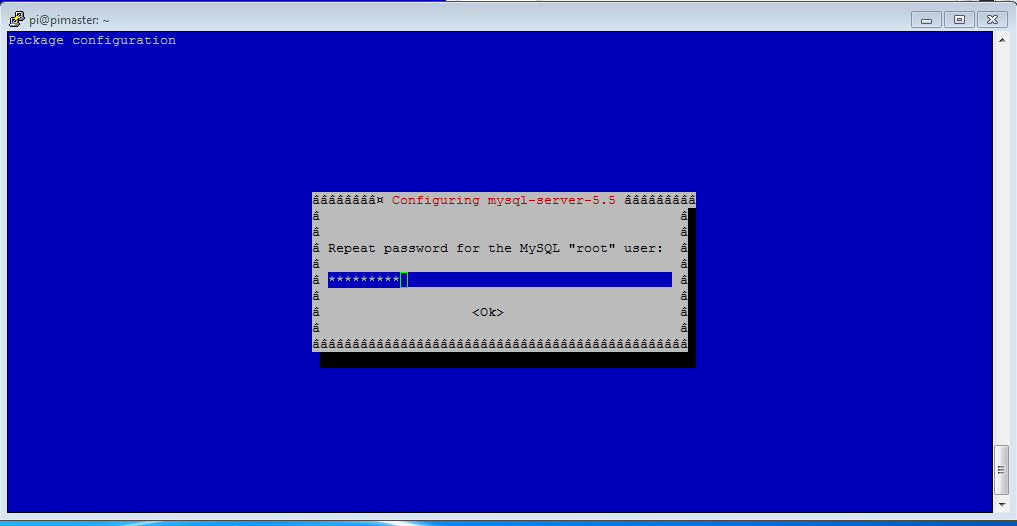
The install will prompt for verification of the new password.
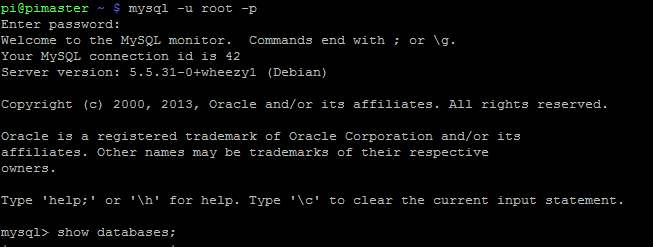
Test MySQL on the system. At the command prompt type:
$ mysql -u root -p
and follow with the show databases; command.
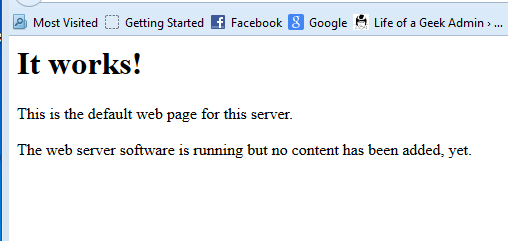
Test Apache by opening a web browser and navigating to the Raspberry Pi’s address and you should receive the It Works! Page.
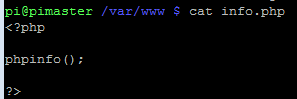
To check the PHP installation create a file called info.php in the /var/www directory with the contents.
cd /var/www
sudo vi info.php
Paste the following code.
<?php
phpinfo();
?>
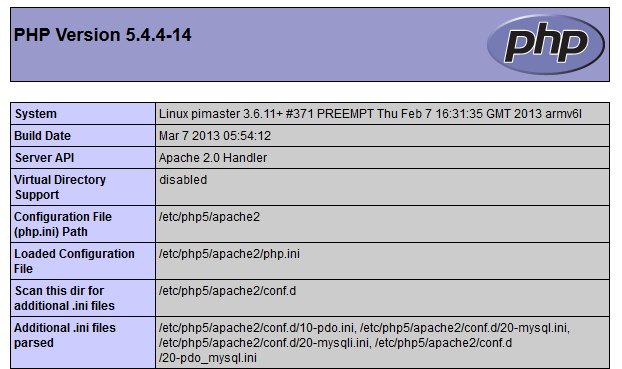
Open a browser and navigating to the Raspberry Pi’s address/info.php (ex: http://192.168.1.15/info.php) and you should receive an output like below.
Now we will need to set rights so the pi user can upload and change files so we need to grant rights to pi user change the ownership of /var/www or the user account you want to use. Or you can create a sub-directory under /var/www and grant access to other id’s.
$ sudo chown -R pi /var/www
If any other Apache or PHP configuration edits are needed the files are located at /etc/apache2/apache2.conf and /etc/php5/apache2/php.ini.
PHPMyAdmin Installation
What easier way to administer a MySQL database than PHPMyAdmin.
$ sudo apt-get install phpmyadmin
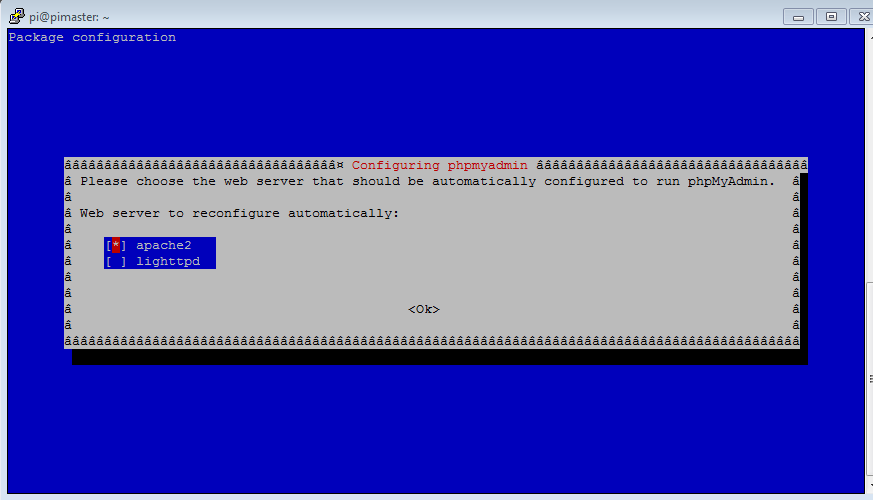
First you will be prompted for the web server to use, select apache and slect OK.
Configure Apache to work with PhpMyAdmin
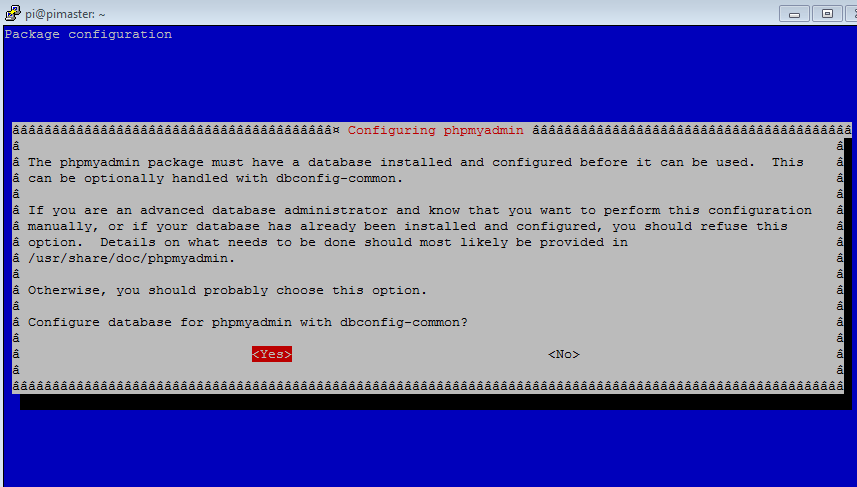
Next prompt will ask for configuration of dbconfig-common can be performed. Answer Yes.
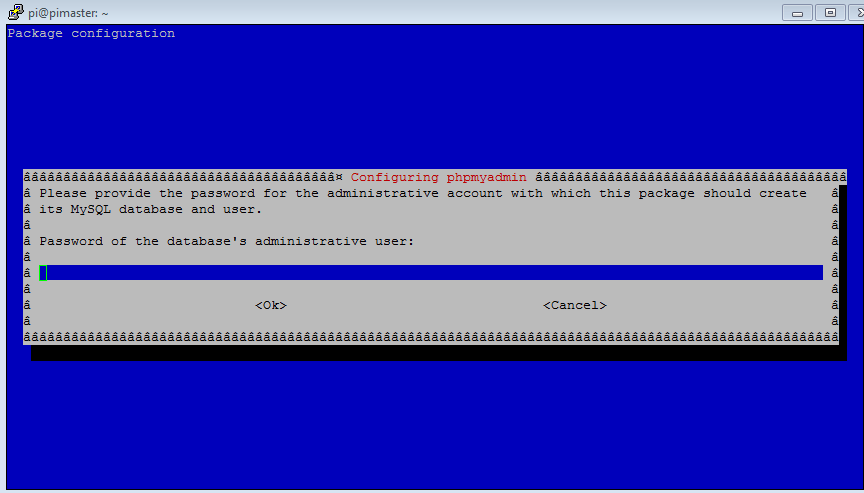
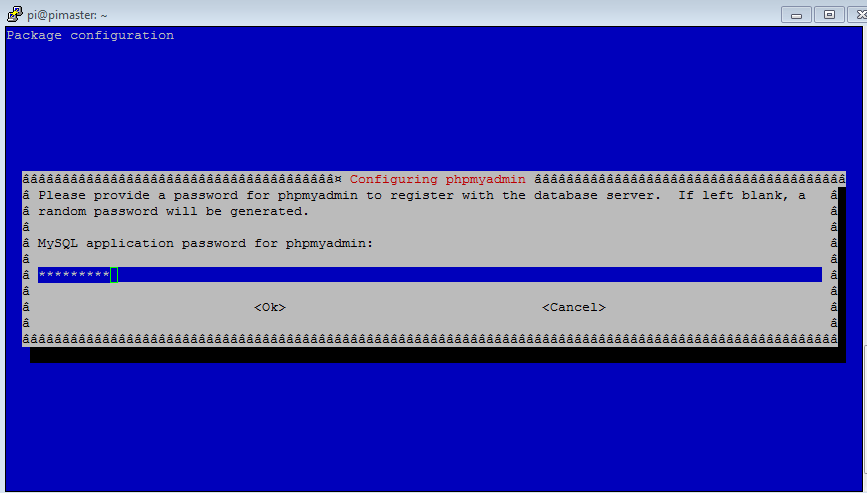
Final prompts have to deal with it and password of the MySQL admin account to allow it to create dbconfig-common database and password to connect to MySQL with.
We need to alter the Apache configuration in order to access PhpMyAdmin. To do this, enter the following command to alter the configuration:
$ sudo nano /etc/apache2/apache2.conf
Navigate to the bottom of the file and add the following new line to the file:
Include /etc/phpmyadmin/apache.conf
Save the file and restart Apache2. To restart Apache, enter the following command:
$ sudo /etc/init.d/apache2 restart
VSFTP Installation
Now we can install VSFTPD to allow for FTP uploading of code to the pi.
$ sudo apt-get install vsftpd
The configuration file for vsftp can be found /etc/vsftpd.conf to make changes as needed.
There you have it. I working Web Server running on the Raspberry Pi!

")


Thanks for the detailed walk through, worked like a charm!
Awesome! glad the info was able to help!
how can i use phpmyadmin
Thanks for the step-by-step 🙂
Thanks a lot, its saved my day 🙂