Installing FreeNAS 0.8 on Oracle VirtualBox 4.1
As part of creating a Windows 2008 R2 cluster there is a requirement to have iSCSI storage or block storage for the Quorum and other shared storage for the cluster. An easy and affordable way to achieve this is FreeNAS. To keep my development cluster all virtual I found the need to create a FreeNAS instance. In this post I will attempt to share how I was able to achieve the desired results.
The Environment
- Host: Fedora 16 64 bit
- 4 GB RAM
- Oracle VirtualBox 4.1.8
First download the appropriate FreeNAS iso from FreeNAS Sourceforge.
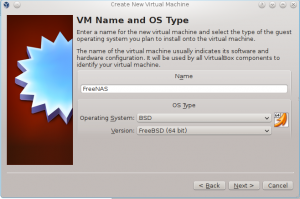
Open VirtualBox and click on New. Give the VM a name and select Operating System > BSD and Version > FreeBSD or FreeBSD (64 bit)click next to continue.
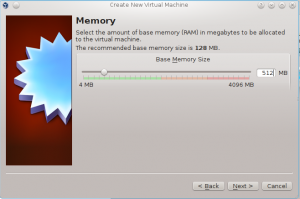
Allocate memory size for the VM. Default value will show 128 MB, I would set it either for 256 MB or 512 MB. For this installation I have chosen 512 MB. Click next when you have made your change.
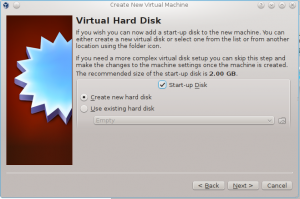
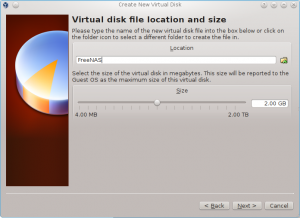
Now we create the virtual hard disk. The default will appear as 2 GB, this will work well for the OS installation. Click next to appect and move along.
The virtual disk wizard will start and you will be presented with several option. The defaul VDI (VirtualBox Disk Image) will work. Click next to accept.
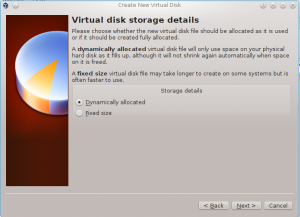
Accept the default of Dynamically allocated storage and click next.
Accept the default for the name for the disk, this will typically be what you set the name of the VM to.
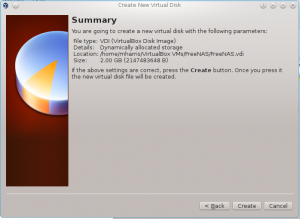
At last the Summary page will appear. Click finish to create the VM.
Once the wizard has completed we will be back at the VirtualBox Management screen and we can move on to installing FreeNAS.
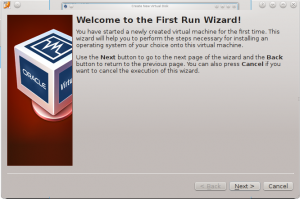
Start the new VM and the first time wizard will appear, click next.
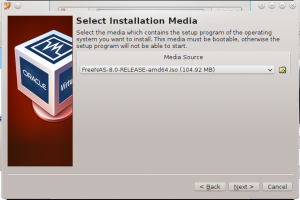
For the installation media we will need to select the install ISO downloaded earlier. Once selected click next.
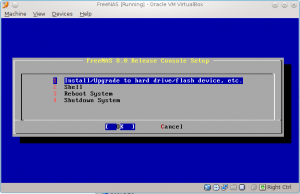
Click Start when ready to boot the new vm. elect the default to install FreeNAS.
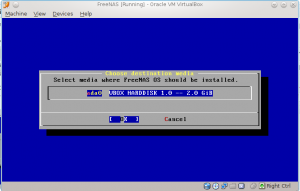
Select the hard disk to install and press OK.
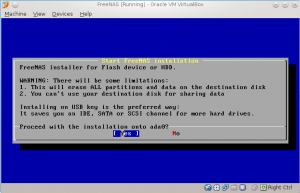
Press yes to start the installation.
After the installation has been completed you will be prompted to reboot and disconnect the CD-ROM media. Remove the iso file and reboot.
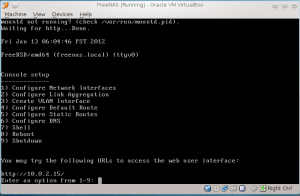
FreeNAS will start and you will be left at an option screen for further configuration.
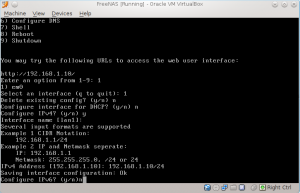
At this point we need to add a network interface and configure a static ip to FreeNAS. Select option 1 (Configure Network Interface)
Eneter in the following responses:
Select and interface: 1
Delete existing config? (y/n): n
Configure interface for DHCP? (y/n): n
Configure IPV4? (y/n) y
Interface name: lan1 (note: Make this whatever you like)
IPV4 Address: Type in you ip and subnet mask here. I used a class C non routable address (192.168.1.10/24)
Configure IPV6?: n
Now, FreeNAS 0.8 is ready to connect via web browser, make sure your client PC can ping to virtual machine’s new IP. You may have to change the network adapter setting on your VM.
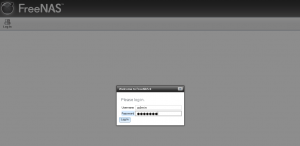
Open your browser of choice and type in the ip address of your running FreeNAS instance and you will be prompted for the admin id and password (freenas by default)
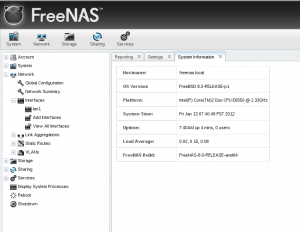
After successful login you will enter into the FreeNAS interface and ready to add storage and configure.
Look for future posts on adding storage and making available for clusters!!





Leave a Reply