


Using HyperBox to Manage Your VirtualBox 5.0 Servers
Introduction
So you have a few instances of VirtualBox running on a few systems and wondering if there is a central tool to manage them similar to vCenter. Well there is such a tool called Hyperbox. According to the site.
Hyperbox is a free virtualized infrastructure manager across your different hypervisors.
It aims to provide a free alternative to commercial products like VMware vCenter/ESXi and Citrix XenCenter/XenServer.
It is primarly used with VirtualBox, its favorite hypervisor backend, but is designed with a modular architecture in mind and could use any hypervisor providing a Java API.
On top of all the VirtualBox function abilities, it aims to provide a manageable environment with the following main features:
- Daemon/Service-based server, perfect on dedicated hosts for your Virtual Machines
- Fully configurable, using the storage backend of your choice (plain files, SQLite, MySQL, …)
- Authentication against a security backend (from a simple text file to a LDAP directory)
- Granular authorization mechanism to only grant the wanted privileges to the users (e.g. Start specific VMs, but do not edit them)
- Auditing of all performed actions on the system, with history browsing and search
- Modular architecture, where several hypervisors and versions can be supported
- GUI clients supporting Roaming profiles or similar for settings, perfect for an enterprise environment
- CLI clients for die-hard command-line admins and scripting
Requirements
The requirements to run Hyperbox are:
- Java 1.6 or higher
- Hypervisor to connect to and its connector module.
- TCP port 45612 open on the server
If Using VirtualBox Web Service
- Apache
Hyperbox is made of three main components :
- The Client, processing user inputs, sending them to the client and displaying the results or data change.
- The Server, managing the Hypervisor, abstracting out its details and presenting a common management layer to the clients and proving a series of features that would normally not be present in the hypervisor itself.
- The Hypervisor, running the actual virtualized entities.
The Client
It connects by mean of a “connector” which is a network module that read and write the data from/to the server. The default connector implements the Kryonet protocol.
The Client can connect to several servers at once.
The Server
The Server is the cornerstone of an Hyperbox infrastructure, by being the bridge between different hypervisors, their management, extra features and the client.
It will abstract out all the specific implementations between the hypervisors and only keep the generic concepts, making it pluggable with virtually anything.
Finally, most free hypervisor products don’t provide any kind of advanced enterprise features, focusing on the virtual side of things. The Server is meant to fill that gap.
The Server runs as a background process, as a Daemon or Service, but can also be run interactively.
The Hypervisor
The Hypervisor is the 3rd party software that the Hyperbox server manages by use of a module.
The module is a hot-pluggable Java package that can be dynamically used to directly connect to the hypervisor.
The Server can only connect to a single Hypervisor at the time by design, and it is strongly discourage to change it once in use.
Modules for VirtualBox are included by default in the Hyperbox releases .
Installing
First piece is to install the server portion on the system running the Hypervisor. Download the server installation from https://github.com/hyperbox/hyperbox/releases/download/0.0.12/hbox-0.0.12-linux_amd64-server.run
$ wget https://github.com/hyperbox/hyperbox/releases/download/0.0.12/hbox-0.0.12-linux_amd64-server.run
Next install it. Assuming java is not installed we must install it.
$ sudo dnf install java-1.8.0-openjdk
$ java -version
openjdk version “1.8.0_71”
OpenJDK Runtime Environment (build 1.8.0_71-b15)
OpenJDK 64-Bit Server VM (build 25.71-b15, mixed mode)
Since we will be using VirtualBox Web Service. have a few more items to install.
$ sudo dnf install httpd php php-mysql php-pear apr apr-util-sqlite apr-util-ldap apr-util wget
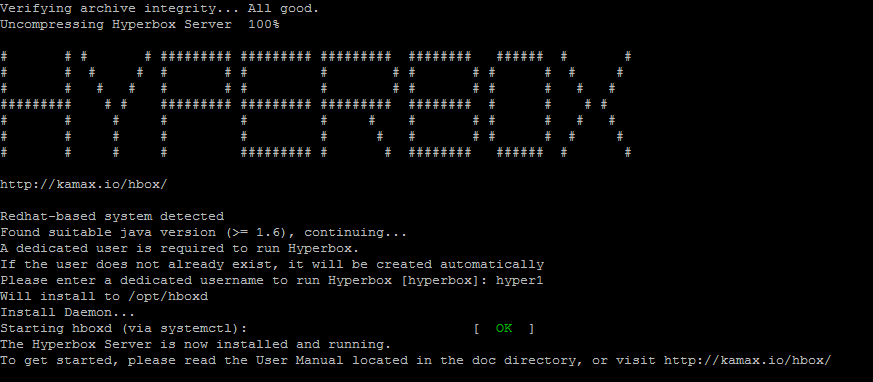
Now install the server portion.
$ sudo sh hbox-0.0.12-linux_amd64-server.run
Since we are running on a fedora 23 Linux installation we must open a few ports on the firewall. HyperBox server uses port 45612/tcp and vboxwebsvc uses 18083/tcp.
$ sudo firewall-cmd –permanent –zone=public –add-port=45612/tcp
$ sudo firewall-cmd –permanent –zone=public –add-port=18083/tcp
$ sudo firewall-cmd –permanent –zone=public –add-port=80/tcp
Restart the firewall to accept the changes
$ sudo systemctl restart firewalld.service
Query your changes
$ sudo firewall-cmd –zone=public –list-all
Now it is time to install the client. In this case I am installing the client on a Windows system. The Hyperbox client is also supported on Linux as well and requirements are the same.
Configure VirtualBox web service
To configure VirtualBox web service on the server, proceed as follows.
First, create a configuration file for the web service at /etc/default/virtualbox.
VBOXWEB_USER=vbox
VBOXWEB_PASSWD=vbox01
VBOXWEB_TIMEOUT=0
VBOXWEB_LOGFILE=/var/log/vboxwebservice.log
VBOXWEB_HOST=192.16.1.113
In the configuration file, VBOXWEB_USER is set to the Linux user that you will run VirtualBox web service as, and VBOXWEB_HOST corresponds to the IP address of the server.
Next, initialize and set the ownership of the log file:
$ sudo chown vbox:vboxusers /var/log/vboxwebservice.log
Create VirtualBox configuration directory:
$ sudo chown vbox:vboxusers /home/vbox/.VirtualBox
00:00:00.001123 main OS Product: Linux
00:00:00.001123 main OS Release: 4.3.5-300.fc23.x86_64
00:00:00.001124 main OS Version: #1 SMP Mon Feb 1 03:18:41 UTC 2016
00:00:00.001144 main DMI Product Name: X58A-UD5
00:00:00.001152 main DMI Product Version:
00:00:00.001209 main Host RAM: 12013MB total, 9415MB available
00:00:00.001212 main Executable: /usr/lib/virtualbox/vboxwebsrv
00:00:00.001213 main Process ID: 15029
00:00:00.001214 main Package type: LINUX_64BITS_FEDORA_22
00:00:00.149302 SQPmp Socket connection successful: host = 192.168.1.113, port = 18083, master socket = 9
Linux Client
For the Linux client the install process is the same as the server and can be downloaded by running the command.
$ wget https://github.com/hyperbox/hyperbox/releases/download/0.0.12/hbox-0.0.12-linux_amd64-client.run
Windows Client
Download the Windows client from here and double-click on the executable to start the installation.
Configuring the Client
Now that we have the client installed we can attach servers, including your local VirtualBox installation. For the servers you will need to install the Hyperbox server on all you want to manage.
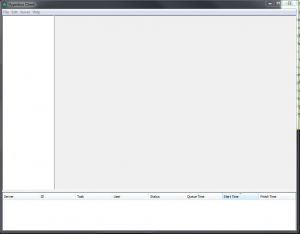
Open Hyperbox client and you will be presented with a simple interface.
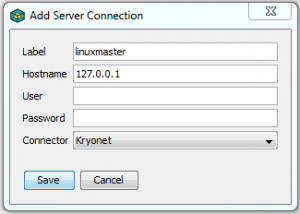
Click Server > Add and fill out the name, ip and connection id and password and click Save. The default username and password for Hyperbox is admin/hyperbox.
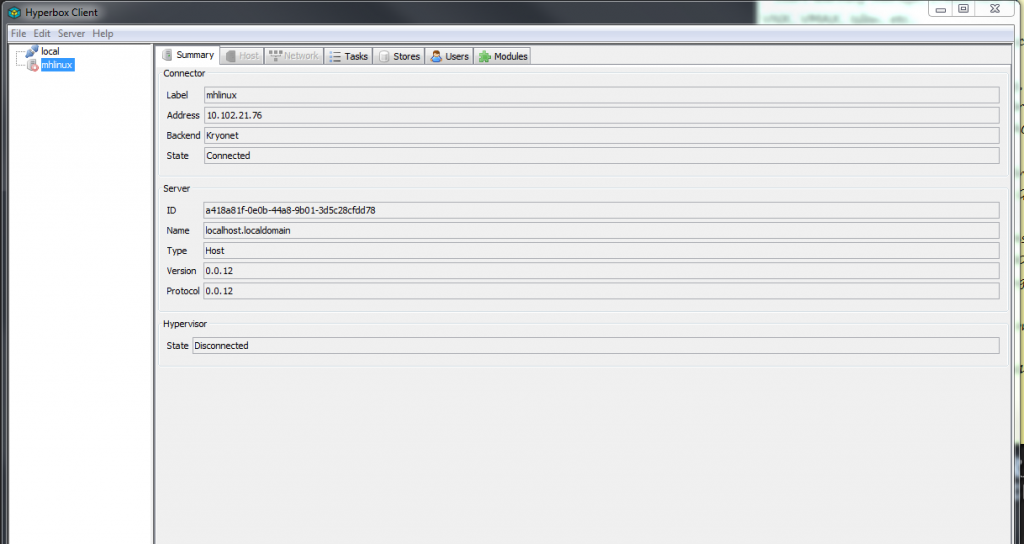
You can now right click > Connect or double-click on the server address to initiate the connection.
If successful, the icon will change to a stopped server icon, and the tabs on the right panel should activate. You should also see the Hyperbox Server detailed and that is it disconnected of the hypervisor.
Now that we are connected to the system we need to connect to the Hypervisor and select Oracle VirtualBox – vbox-5.0-ws and for the connector options we will need to pass the VBOXWEB_USER and VBOXWEB_PASSWD credentials we setup earlier. The syntax is http://user:password@IP Address:18083
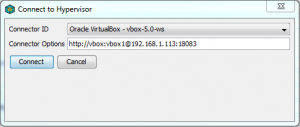
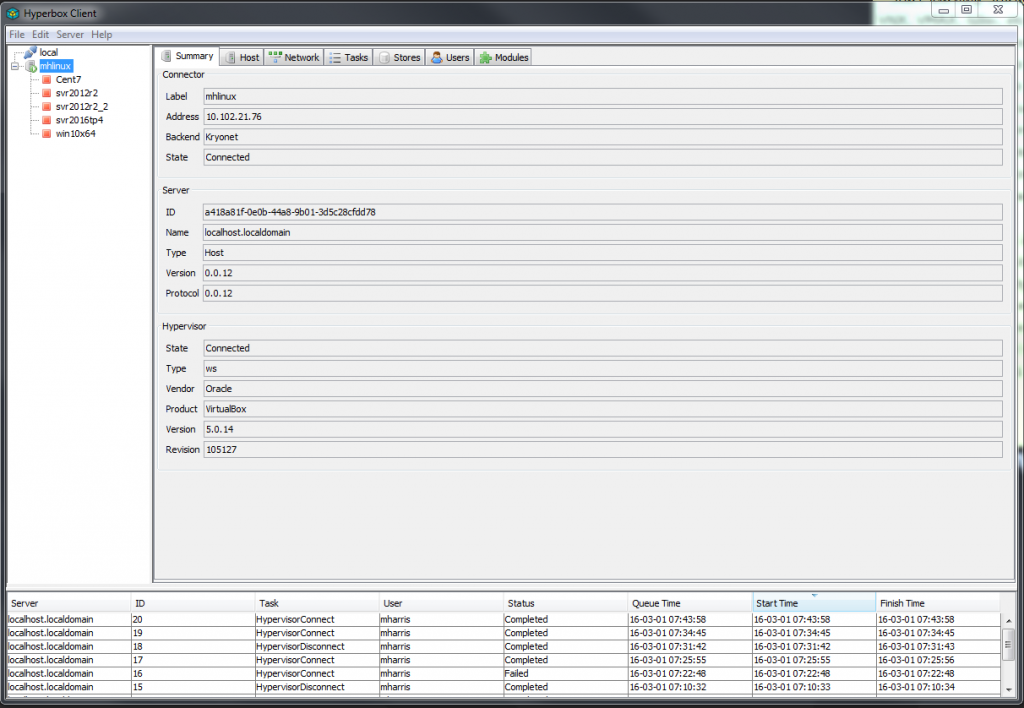
Click Connect and you will see all the systems managed by the Hypervisor.
Conclusion
With HyperBox we can now manage multiple VirtualBox Hypervisor’s with a single client. We can now create and delete from the systems without having to be one the individual hosts.


Leave a Reply