How To Encrypt USB Drives on Windows 10 with Veracrypt
How To Encrypt USB Drives on Windows 10 with Veracrypt
Introduction
In continuing on with protecting your data and using encryption of USB external drives we will cover another open source program VeraCrypt.
Install
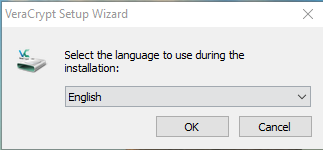
Download VeraCrypt 1.24 Update 7 from https://sourceforge.net/projects/veracrypt/.
Click Next
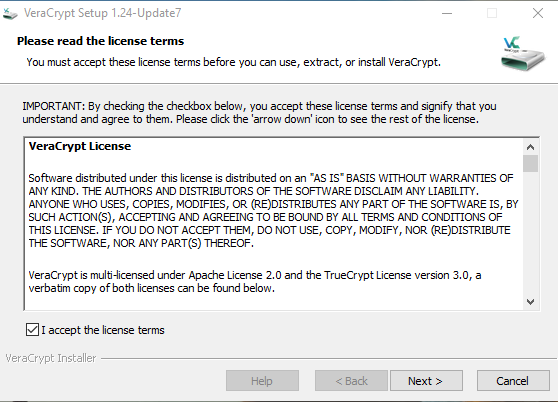
Click I accept and click Next
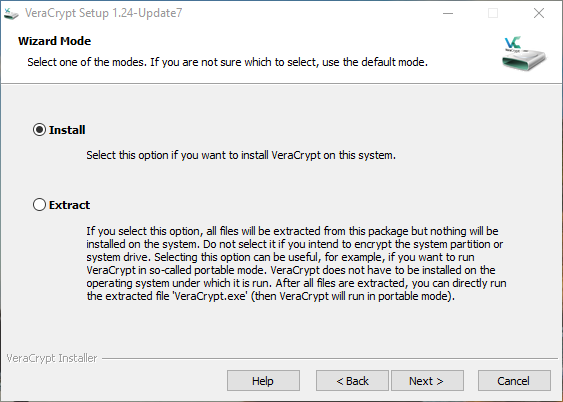
Click Next
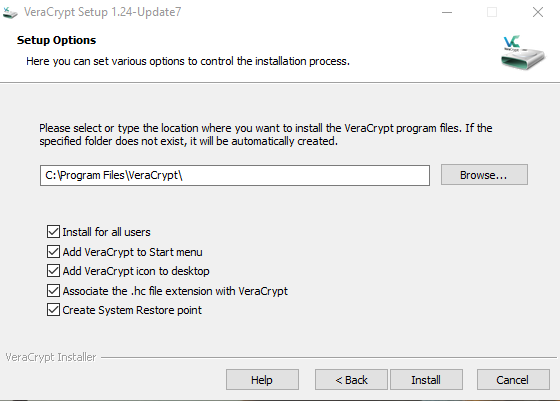
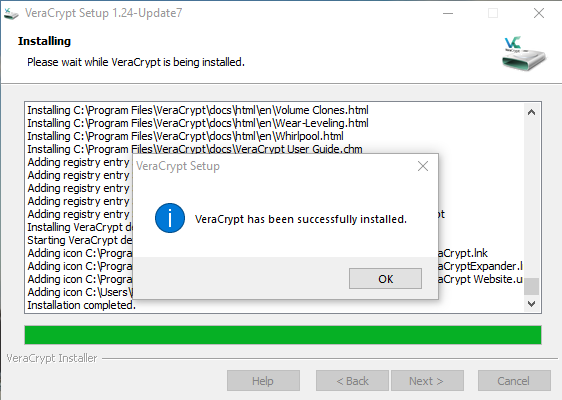
Click Install
Click Ok
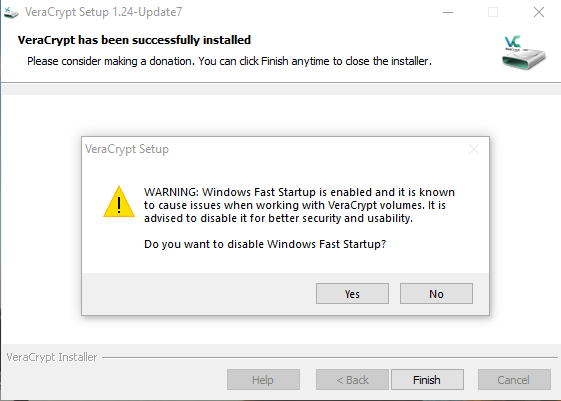
Click Finish. You may get a popup to disable Windows Fast start answer no
Installation is completed, now let’s encrypt.
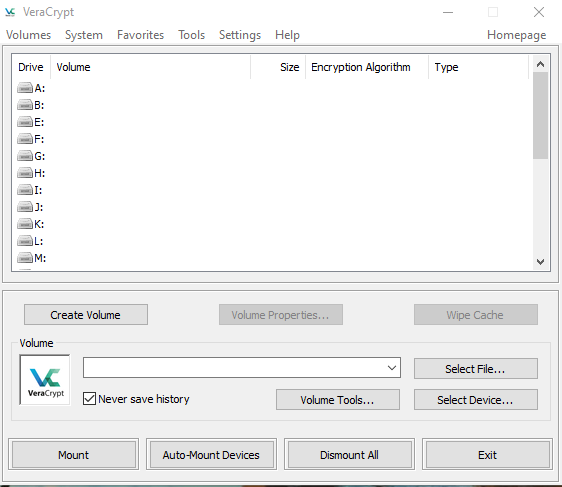
Open VeraCrypt. The top half of the window contains a table of drives. It should be empty. The bottom portion is filled with the controls for VeraCrypt. Select Create Volume to begin.
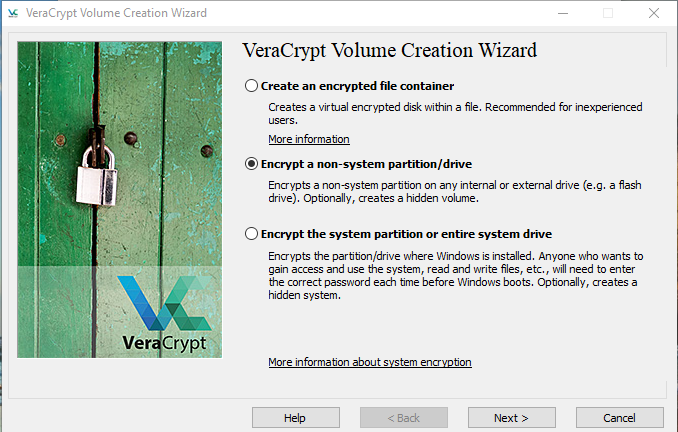
Click Encrypt a non-system partition/drive and click Next.
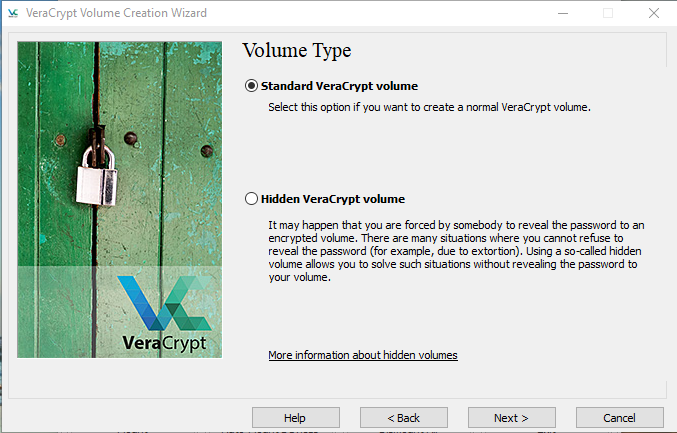
Choose Standard VeraCrypt volume, then select Next.
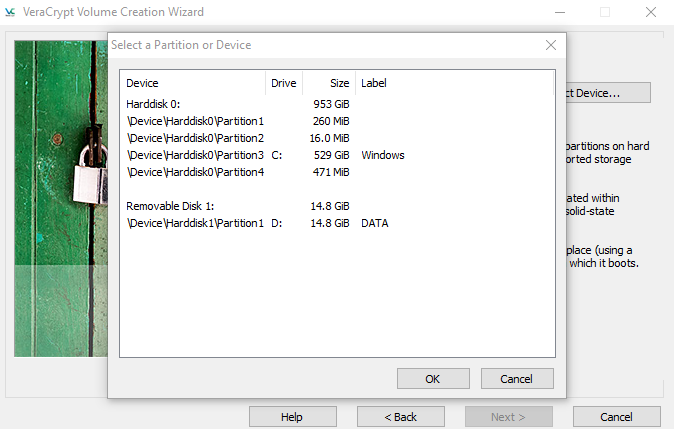
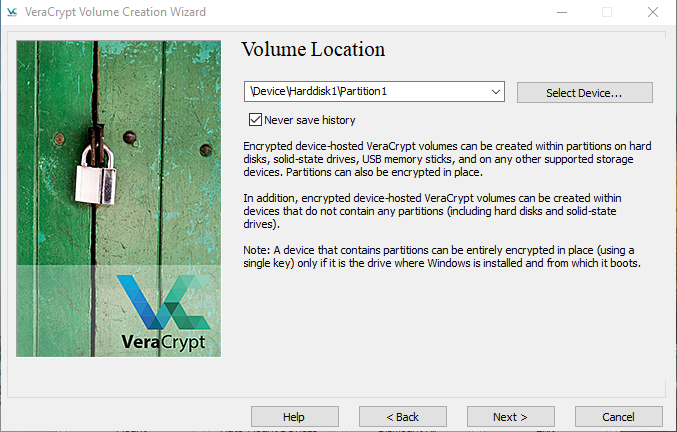
Choose Select Device to open a window containing the drives and partitions on your computer. A popup window will open. Select the USB device to encrypt and click ok.
Click Next
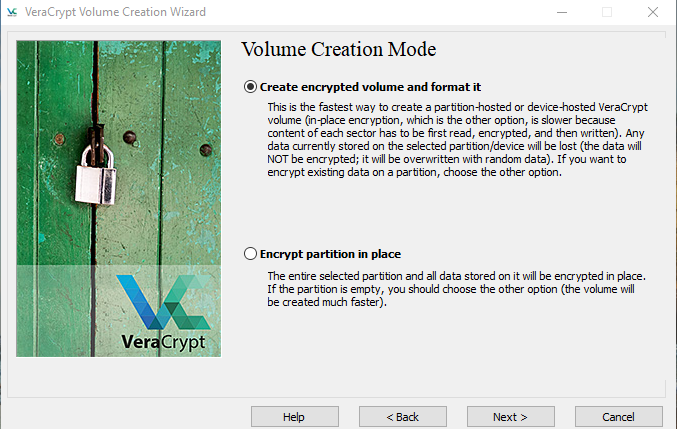
Choose Create encrypted volume and format it, then select Next.
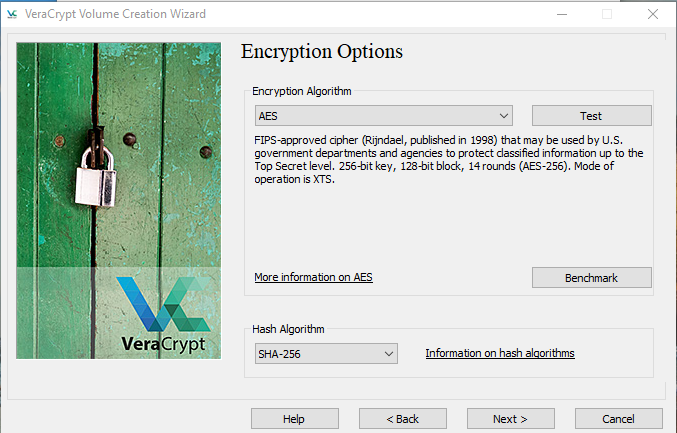
VeraCrypt asks you to select encryption options. The defaults of AES and change hash algorithm to SHA-256 are fine, so select Next. Note: you can leave hash algorithm at SHA-512 if you prefer.
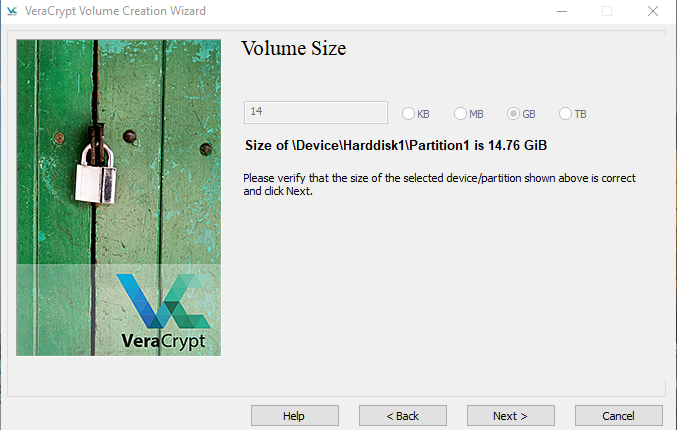
VeraCrypt shows the size of the drive you chose to help you confirm that you picked the right one. Select Next when you’re ready to proceed.
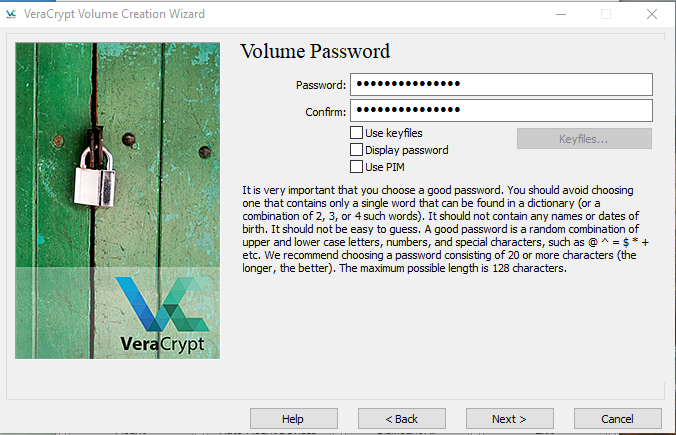
Create a secure password or key for your drive. This is the only thing preventing someone from gaining access to your drive, so follow the on-screen advice for creating a strong password.
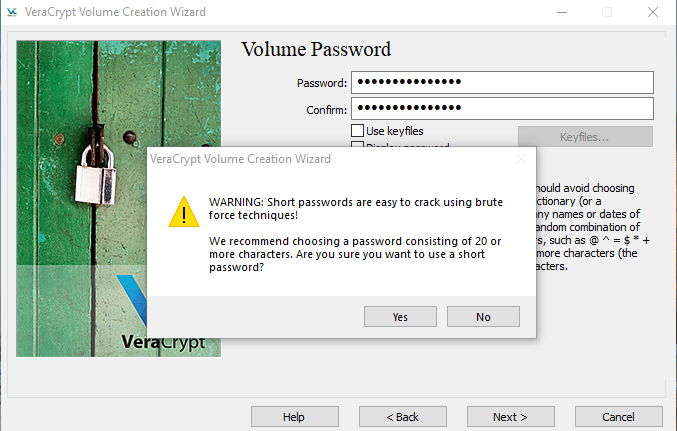
Note: If you password is shorter than 20 characters you will get a popup.
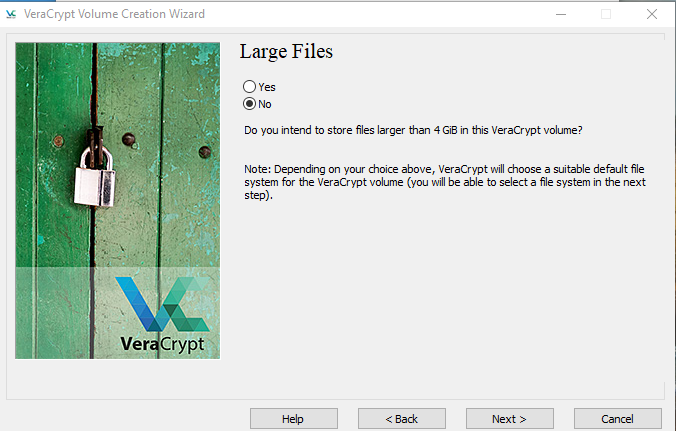
To help pick the appropriate file system, VeraCrypt asks if you plan to store files larger than 4 GB on the device. Choose your answer, then select Next.
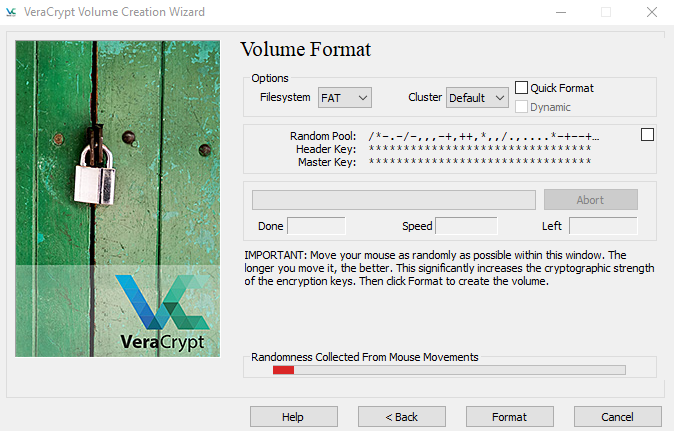
Make sure the file system you want is selected under Filesystem. The default file system option is FAT, which is the most universal since it works across Windows, Mac, and Linux systems. However, FAT only works with files up to 4 GB. If you need large files on the drive, or you only plan to use the drive with a certain operating system, choose a different format like NTFS for Windows or EXT4 for Linux.
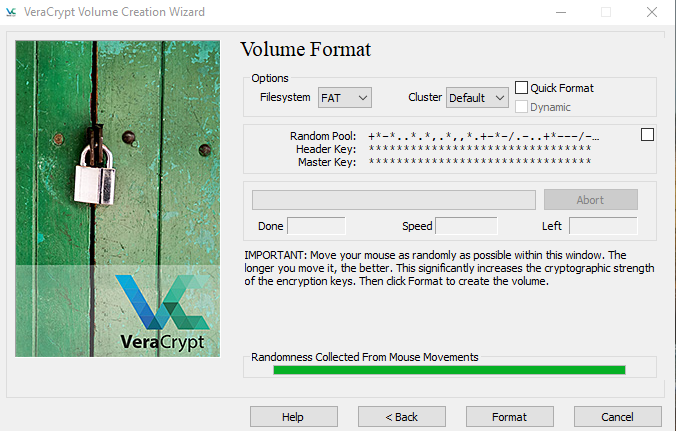
VeraCrypt asks you to create random data by moving your mouse around the screen. VeraCrypt uses this random data to create stronger encryption. Move the mouse until the bar at the bottom of the window fills up, then select Format.
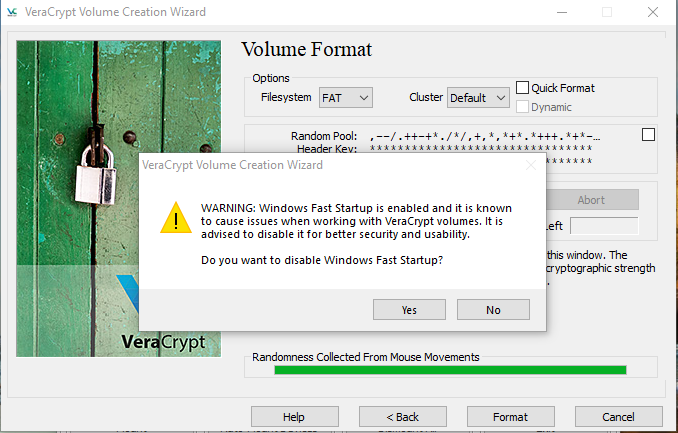
Note: You may get a warning about disabling Windows Fast Startup. Click No to proceed.
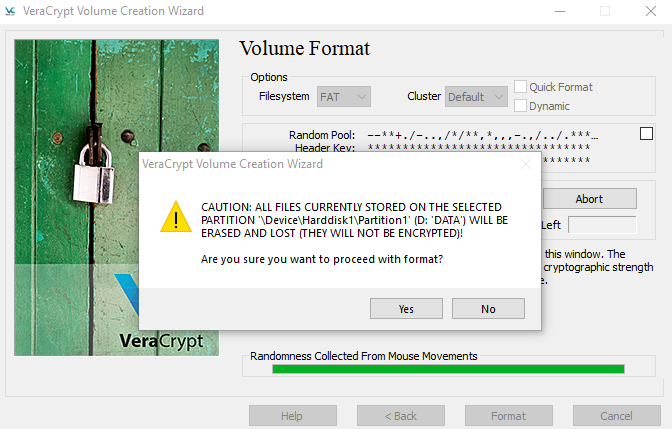
VeraCrypt warns you that you’re about to format the drive and lose everything on it. Select Erase any files stored on the partition by creating a VeraCrypt volume within it.
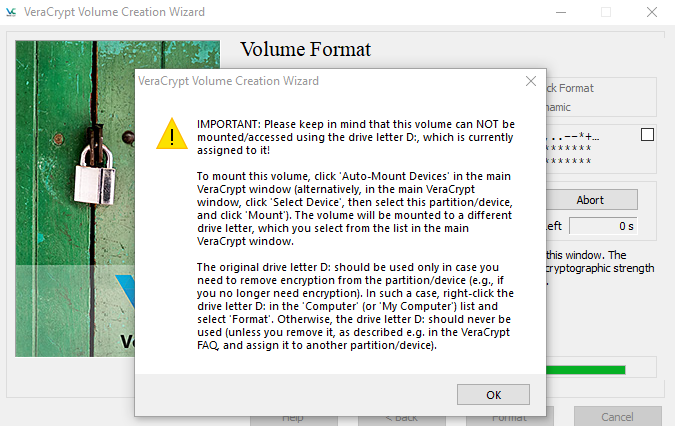
When it’s done, VeraCrypt presents you with a message letting you know that it created the drive successfully as well as information on mounting and accessing the drive.
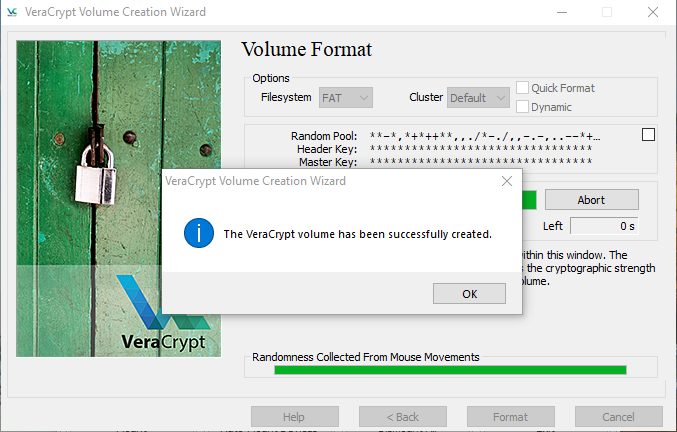
Veracrypt will display a message the drive has been created, click ok.
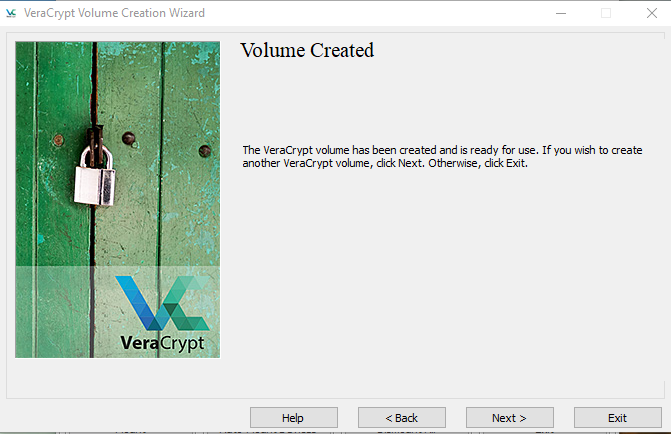
Click Exit to get back to the drive screen.
At this point an encrpted USB drive has been created. The only way to read this is by mounting the drive in Veracrypt.
Now we need to mount the drive.
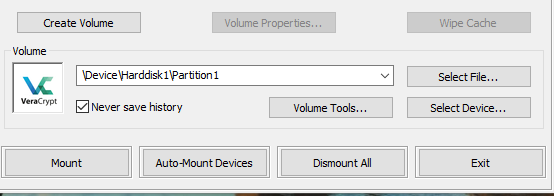
Click Select Device
Select the disk and click ok.
Click a drive letter.
Click Mount.
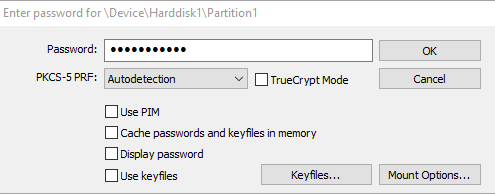
Type in the password and click OK
Drive should now be mounted.
Copy any files to the disk.
Now we need to make the disk portable. So that leads us to the next option to setup Veracrypt for portable mode.
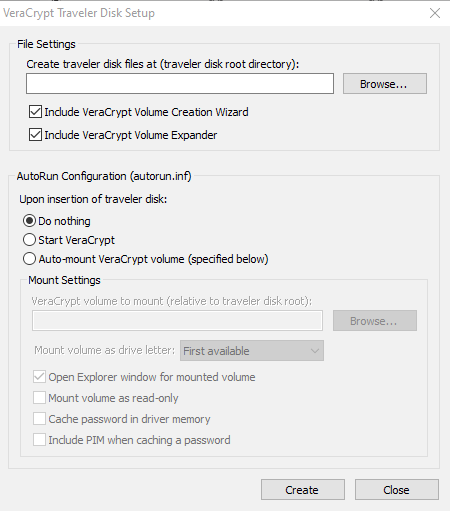
Click Tools > Traveler Disk Setup
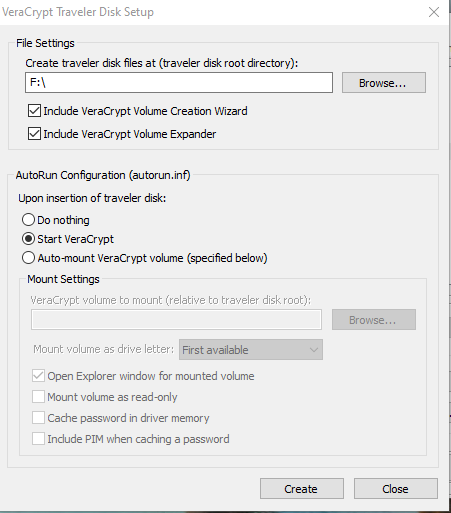
Click Browse and select the USB disk and click OK.
Under Autorun Configuration select Start VeraCrypt. Click Create.
.
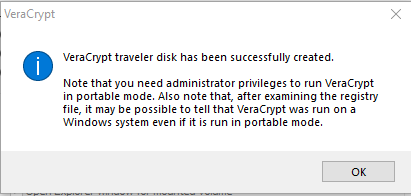
Click OK after reading the VeraCrypt Message.







Leave a Reply