


Using Shotcut to create MP4 from VHS Captures

Using Shotcut to create MP4 from VHS Captures
Introduction
In this post we will cover creating an MP4 video using Shotcut from VHS or Hi8 captured tape footage. Shotcut is an opensource, cross-platform video editor. This is assuming you have already captured the VHS footage and are ready to make the captured footage into an MPEG 4 movie. We will cover basic editing, cropping and exporting your VHS or Hi8 footage into MP4 format using Shotcut
Create a new project
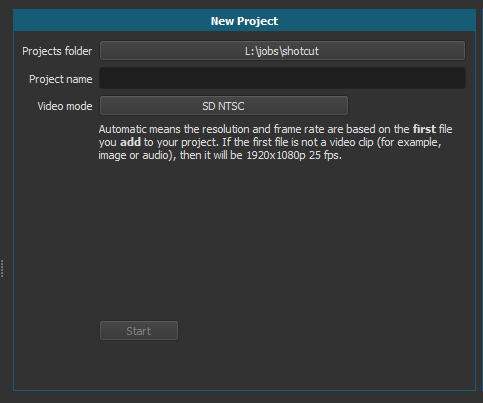
First step is to create a new project. Select the projects folder location and give the project name and click start.
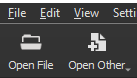
Click Open File from the toolbar.
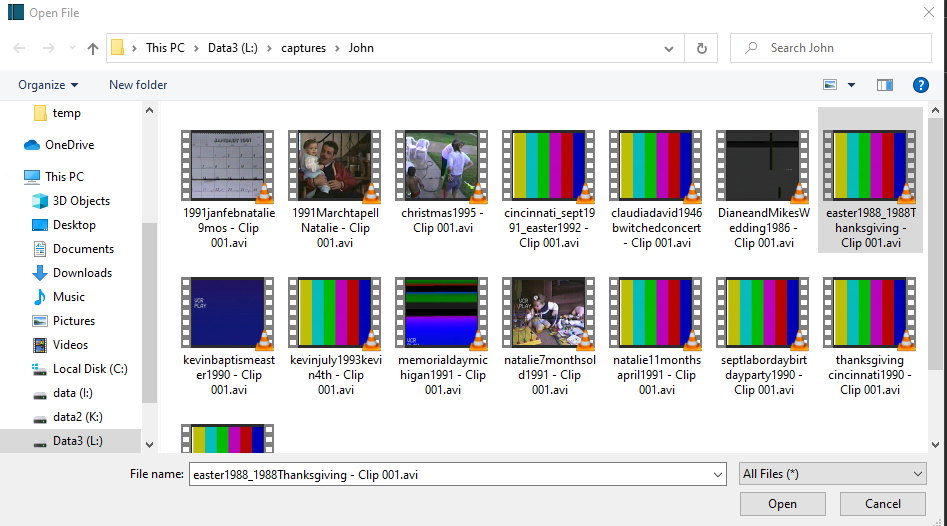
Select the file and click Open.
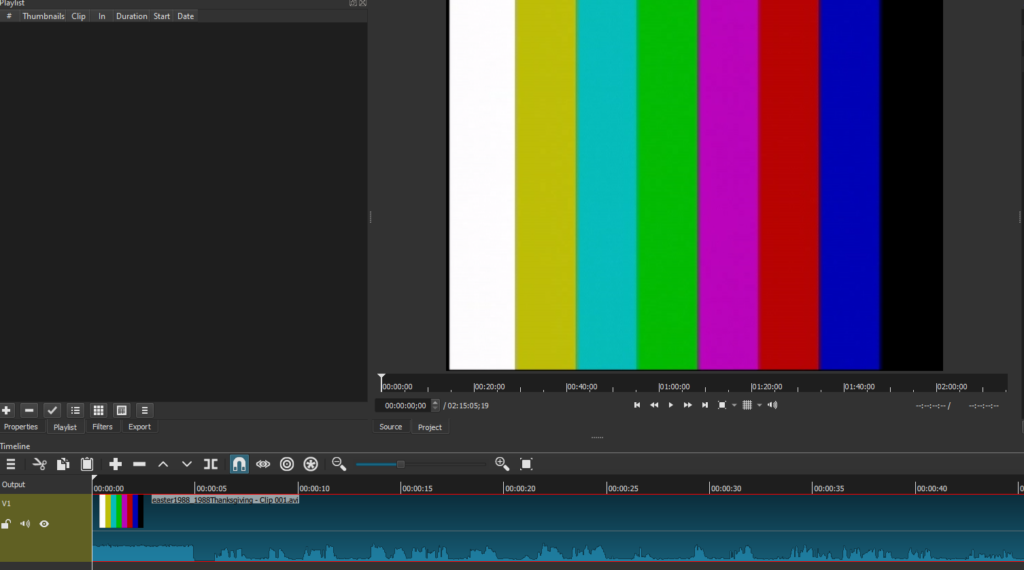
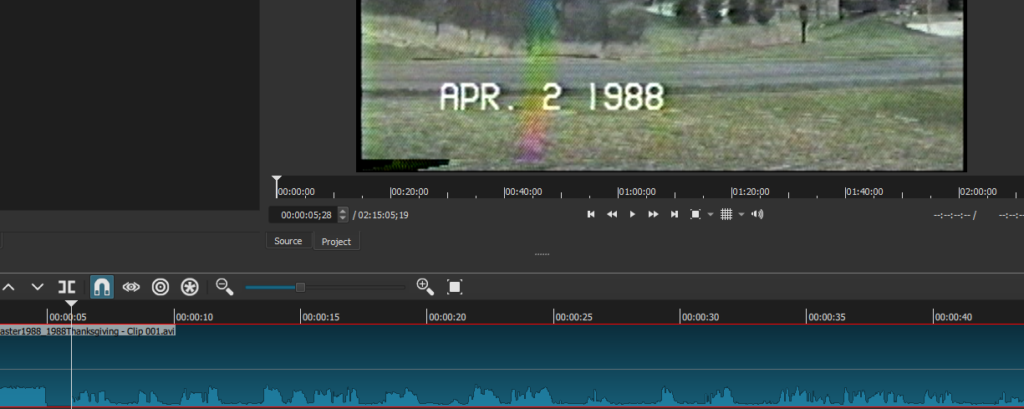
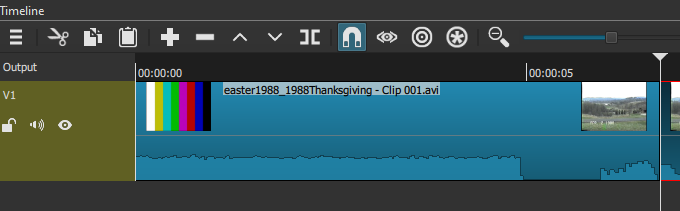
Next we need to drag the file into the timeline to make changes. Click on the preview image and drag and drop in the timeline.
Now we are ready to start editing the clip. First step is to get rid of the tearing at the bottom of the clip which is common with VHS captures. This is a fairly easy process in Shotcut.
Move to a section in the timeline where you can see the tearing.
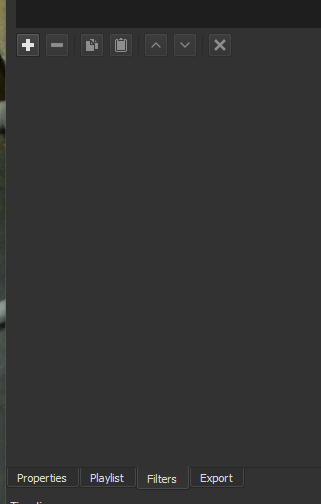
Click on the Filters tab and click on the + to add a new filter.
Click on Video and scroll down and click on Crop: Source
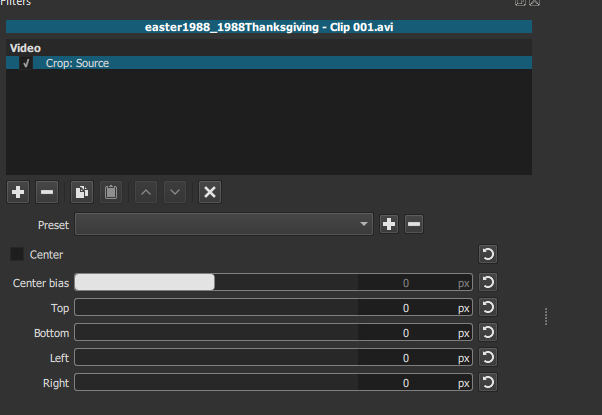
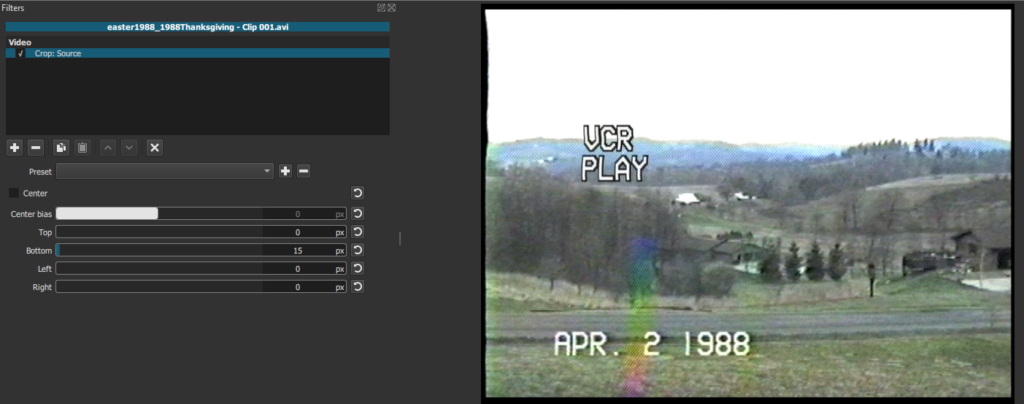
Click in Bottom and use + and – to adjust to where the tearing is not visible. For me 15 usually is all it needs.
Now we are ready to cut out the pieces we do not want in the video. For this we will use Split at Playhead (S) feature to mark beginning and end of selection.
Move to the spot you want to cut at and press S on your keyboard and Shotcut will make the cut.
Shotcut will highlight the right side red outline. Whichever is selected will be the part deleted. Select the area to delete, right click on the selection and click Remove (X) or just press X on the keyboard.
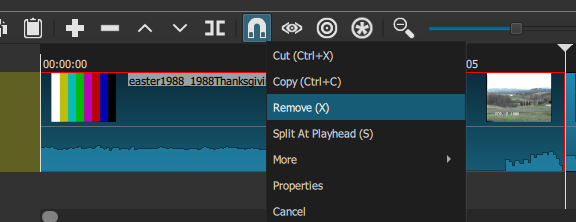
To set a beginning and ending split just find the area for the start of the cut and press “S” then move to the end of the clip and press “S”. Click on the selection and press “X” to remove it.
Note: Make sure to save your project regularly.
When all your edits are done it is time to export your project.
Exporting Your Work
Click Export from the toolbar then select H.264 Main Profile from the profiles.
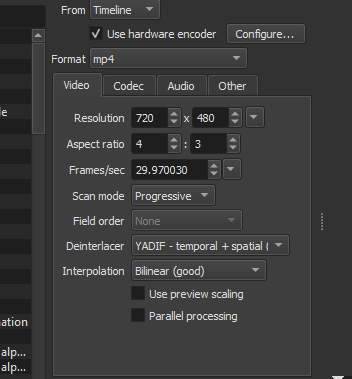
Click Advanced button to show more details.
The defaults are usually good for the exports. One thing I have found is to set Scan Mode to Progressive for best results. Once satisfied click export File and select the name and location and click Save.
On the right of the screen is a Jobs window that you can watch the process.
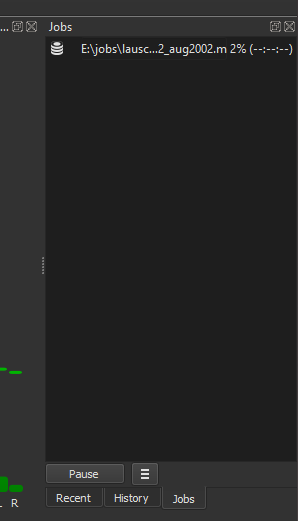
Just wait for the job to complete and you are done.


Leave a Reply