


How to Build Your First Windows Server 2012 R2 Domain Controller
Introduction
So you want to take the plunge and build your first Windows Server 2012 R2 Domain Controller. Well don’t worry it is not as hard you may think! In this post we will cover creating a new Domain Controller and a new Forest. So lets get started.
Process
First we will need to have a Windows Server 2012 R2 ready to go to become a domain controller, once you have it ready and all updates applied we can move ahead.
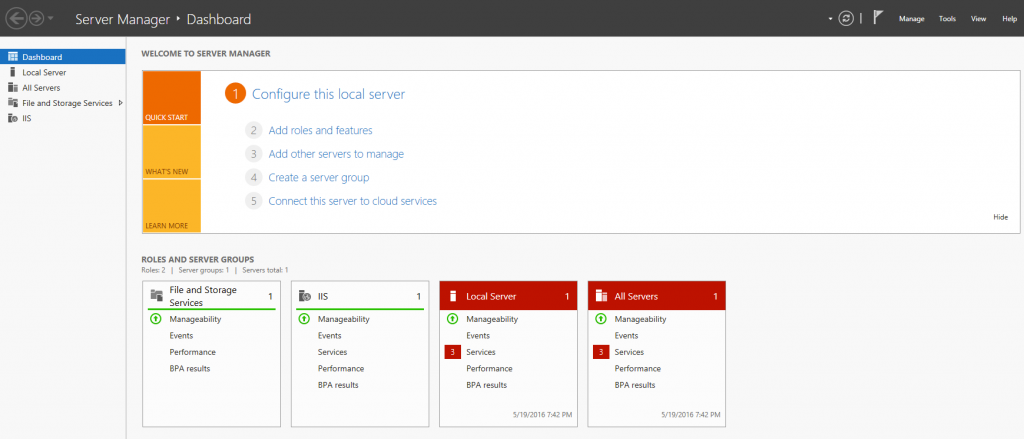
Click on Server Manager
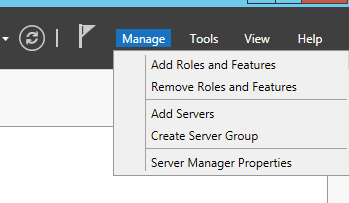
Next click on Manage > Add Roles and Features
The wizard will start and the Before You Begin screen will appear.
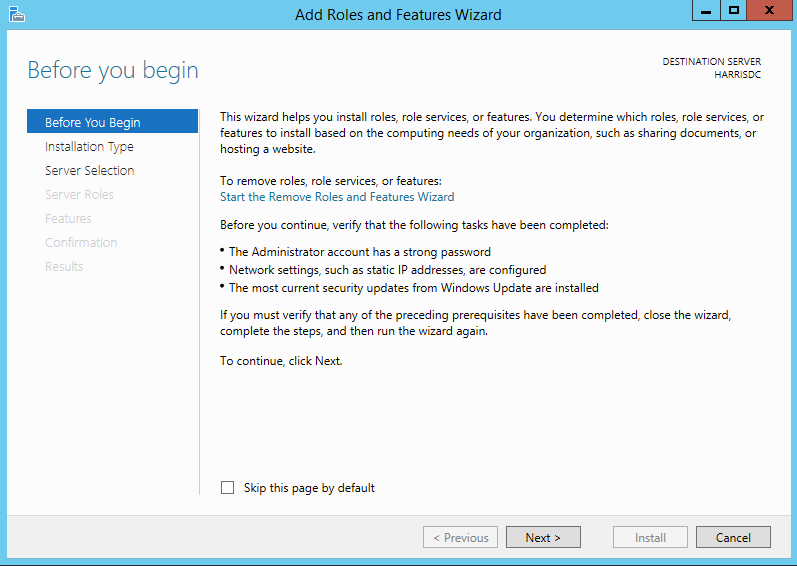
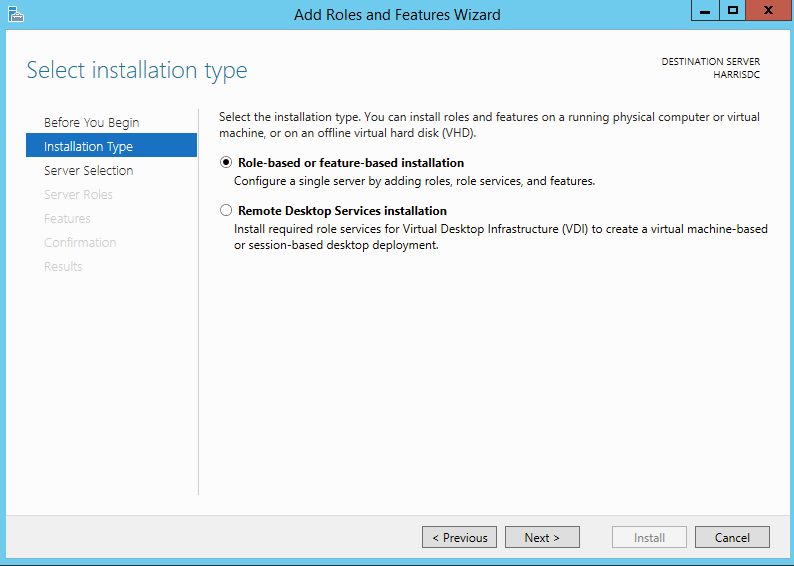
Click Next. On Installation Type screen select the first option “Role-based or Feature-based installation” and click Next.
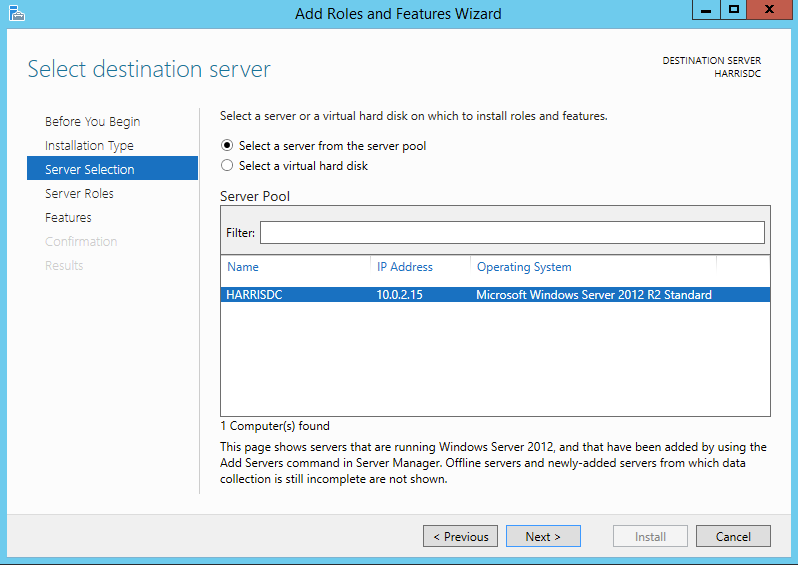
On the Server Selection page select a server from the servers pool and click next.
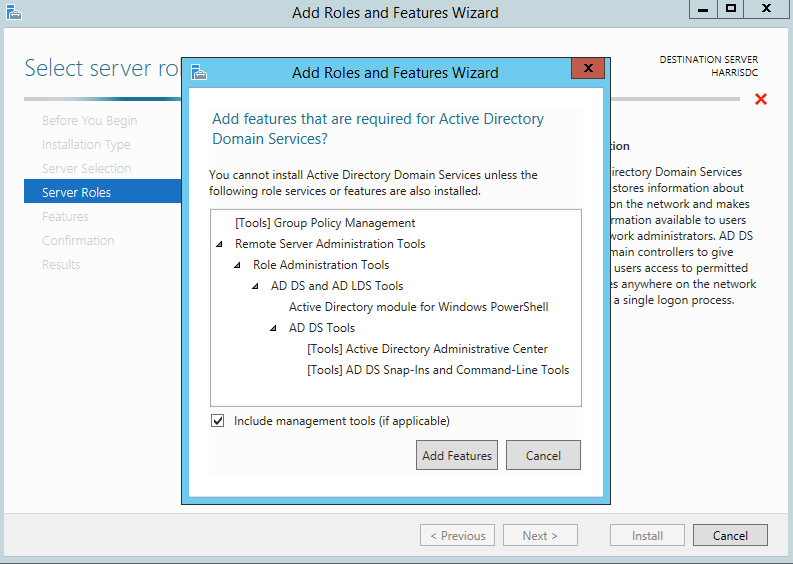
Next we need to install Active Directory Domain Services. After selecting it a popup will occur to install the dependencies. Click Add Features and the popup will clear. Click next to proceed.
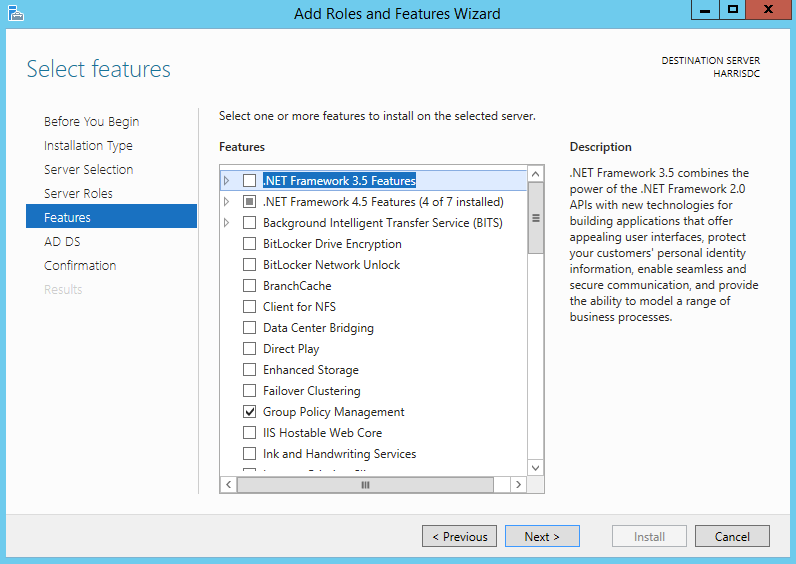
On the “Select Features” page you will see some features selected. This is from the popup that occurred earlier. Click next.
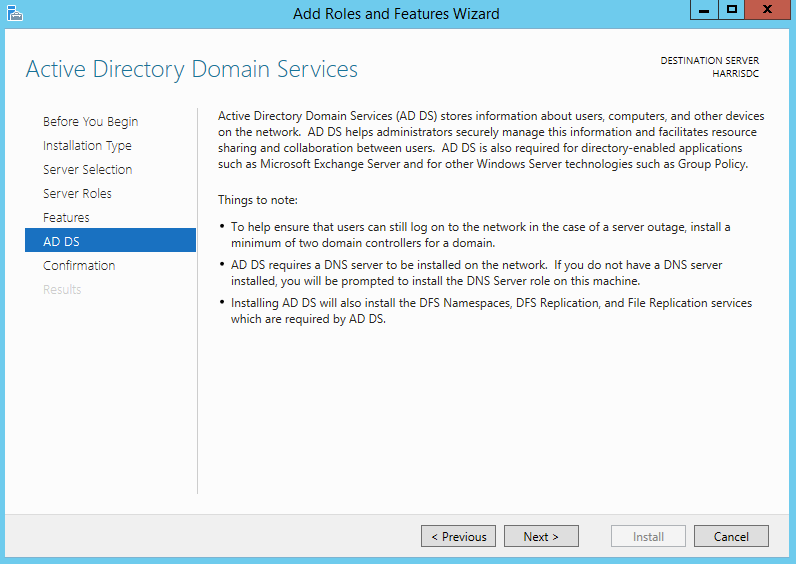
 On the “Active Directory and Domain Services” page click next.
On “Confirmation” page click the “Restart the Destination Server if required” box, a warning popup box will popup warning what will happen. This is optional to click for a restart. Click Install.

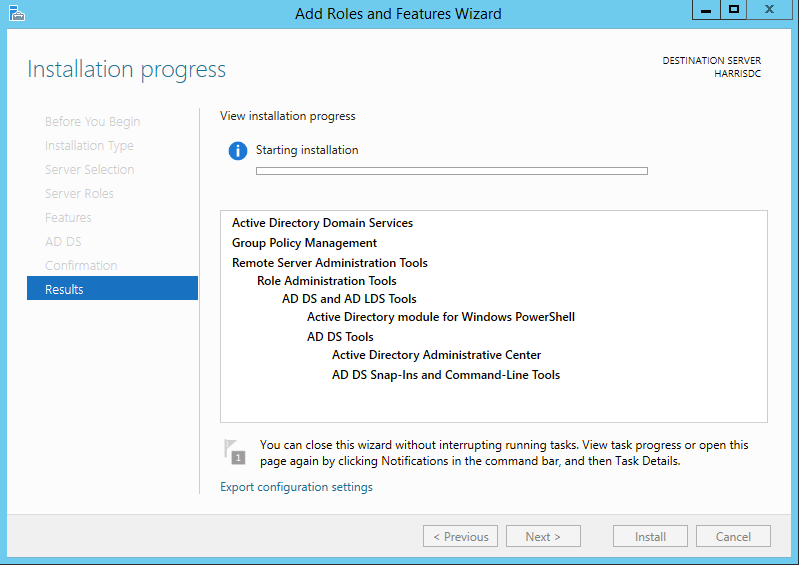
The installation will progress.
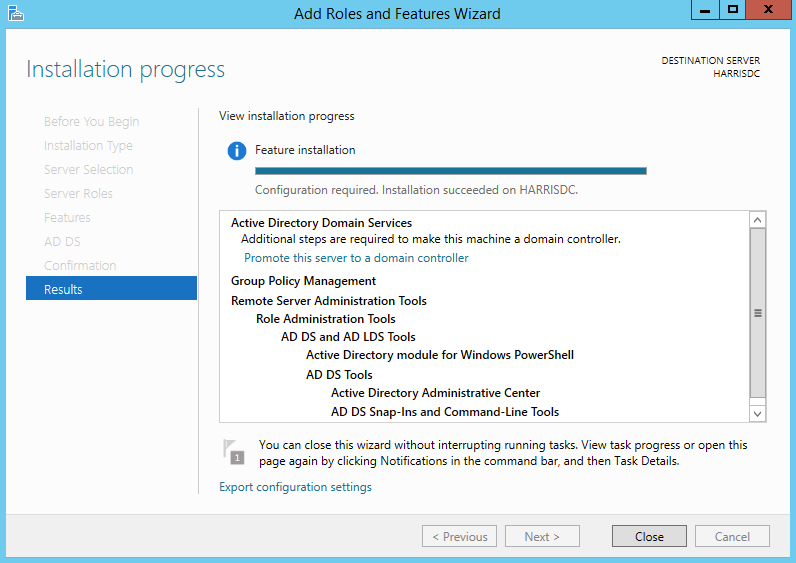
Installation will complete and now we need to promote our system to a domain controller and create our forest.
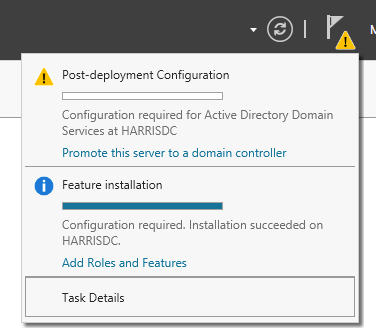
Click on the warning by the alert flag icon and click on promote the server to a domain controller.
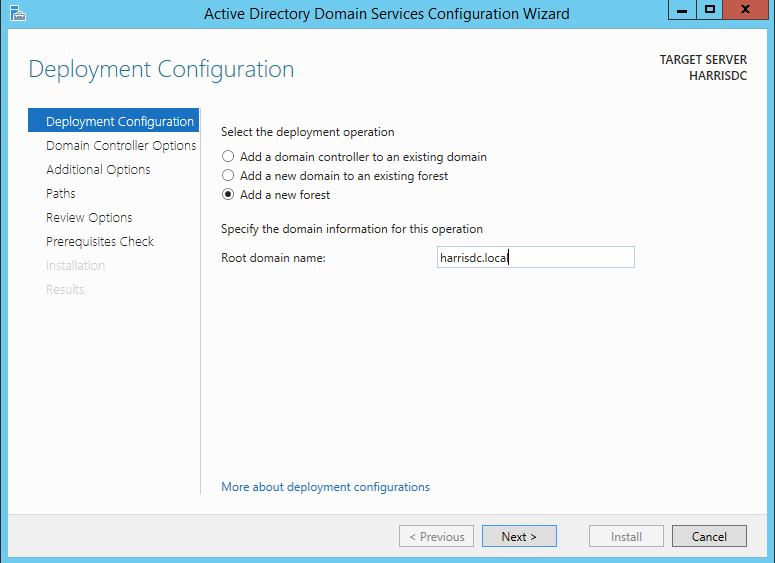
For this post we will be creating the harrisdc.local domain. On the Deployment Configuration page select “Add a new forest” and in the root doamin name type in your domain and click next.
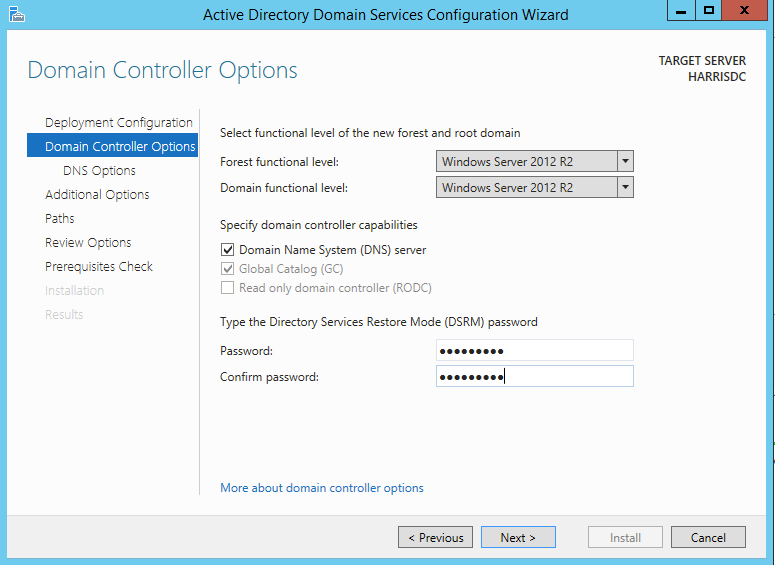
Specify the FFL (Forest Functional Level), DFL (Domain functional level) and if the server should be the DNS server. You will also need to specify the DSRM (Directory Services Restore Mode) administration password. Click next when ready.
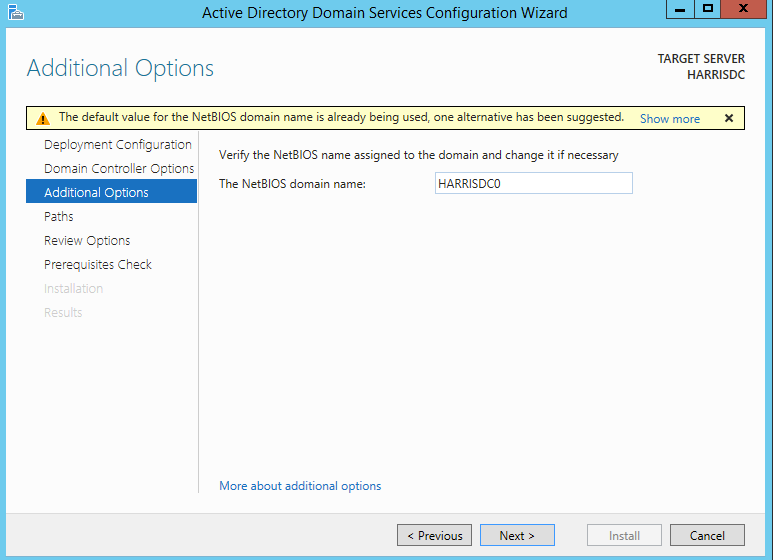
DNS delegation check will run and a warning will appear and the NETBIOS name will already be assigned and will suggest a new one. Leave as is or change.
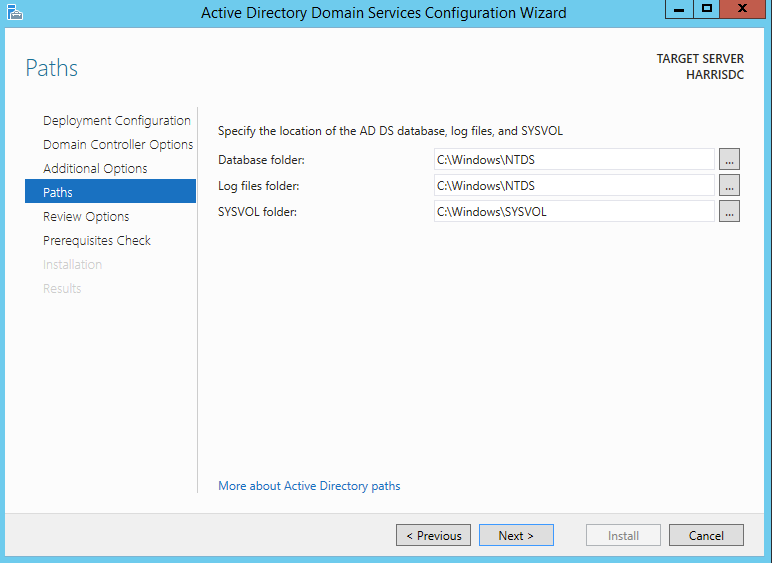
Next specify the location for AD Database, log files and SYSVOL, click next.
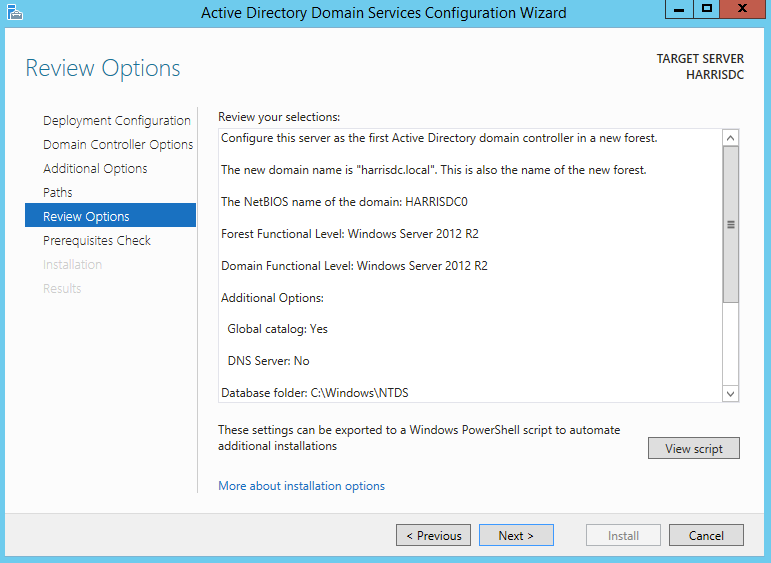
On the “Review Options” page the options you selected will be displayed, if all is ok click Next.
A prerequisites check will run and display findings, if all is good click Install.
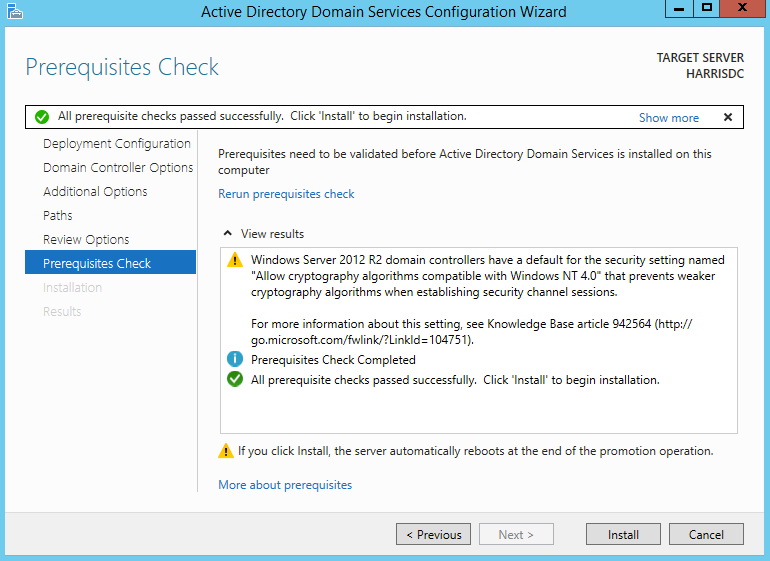
After the promotion is done the server will restart automatically.
Conclusion
As we can see promoting a server to a domain controller is a simple process and you can easily create and add domain controllers in your network.


Leave a Reply