


How to Create a CentOS 7 local repository

How to Create a CentOS 7 local repository
Introduction
In this post we will cover how to create a CentOS 7 local repository that you can use to patch CentOS 7 systems that do not have access to the Internet for updates or for your home network. We will create a web site with NGINX, download the updates, extras and others packages, set to update daily and configure systems to use the local repository in this post.
Install and Configure NGINX
First step is to install and configure NGINX to server as the web server for our repository.
# yum install nginx
![]()
Enable Nginx to start at boot.
# systemctl enable nginx.service
![]()
Start NGINX
# systemctl start nginx
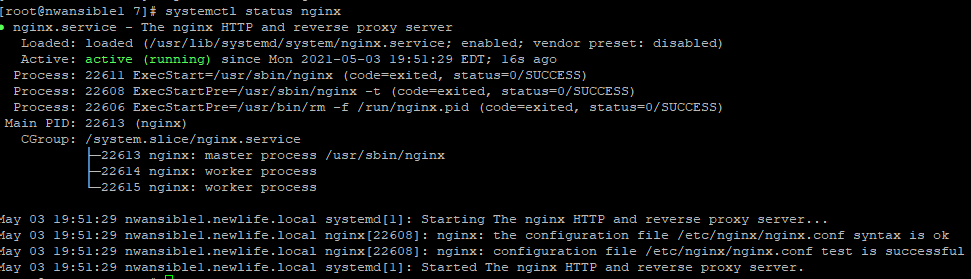
Validate NGINX is running
# systemctl status nginx
Open firewall to allow systems on the network to access.
# firewall-cmd --add-service=http --permanent

# firewall-cmd --reload

Repository Setup
No we can create a place to put the repository. Make it 20 – 30 GB in size. For this purpose we will call it repo with a sub-directory named 7. We will not cover adding the additional disk as done ahead of time in this post.
# cd /

# mkdir /repo

# mkdir /repo/7
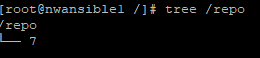
Validate directory is good with the tree command
# tree /repo
Next steps we will make sure yum-utils is installed for the utility reposync.
# yum -y install yum-utils
Next create a script to run from cron to download the updates. Reposync will read the servers yum.conf file and update based on enabled and defined repos in the /etc/yum.repos.d directory. We will create the script names centos7_sync.sh in /etc.
# cd /etc

# vi centos7_sync.sh
Add the following contents
#/bin/bash
VER='7'
ARCH='x86_64'
REPOS=(base updates centosplus cr fasttrack extras)

for REPO in ${REPOS[@]}
do
reposync -p /repo/${VER}/${ARCH} --repo=${REPO} --download-metadata --newest-only
done
Save the file. Make it executable
# chmod +x centos7_sync.sh
We next need to enable centosplus repo.
# yum-config-manager --enable centosplus
Now we are ready to download the rpms and test the script. This may take time to run.
# /etc/centos7_sync.sh

Next setup cronjob to run at 3 am daily
# crontab -e

0 3 * * * /etc/centos7_sync.sh
More NGINX Configuration
Now that we have the repository setup and populated it is time to define our site to NGINX.
# cd /etc/nginx/conf.d

# vi centosrepo.conf
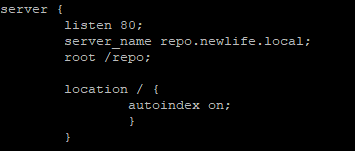
Put in the following information
server {
   listen 80;
   server_name <Your URL>;
   root /repo;

   location / {
   autoindex on;
  }
}
Note: Make sure to add a CNAME or A record to you DNS server for name resolution.
Configure selinux
Make sure semanage python utility is installed.
The semanage fcontext command is used to manage file context definitions, which contain additional information (such as SELinux user, role, type and level) to make access control decisions. File context is one of the biggest issues admins face with SELinux. You might have created a new directory to house SSH host keys, but without the correct file context, SELinux won’t all SSH access to that directory.
# yum install policycoreutils-python
Now we need to make sure
# semanage fcontext -a -t httpd_sys_content_t "/repo(/.*)?"

#restorecon -Rv /repo
Restart NGINX
Test nginx configuration
# nginx -t

Restart nginx
# systemctl restart nginx
Repo Validation
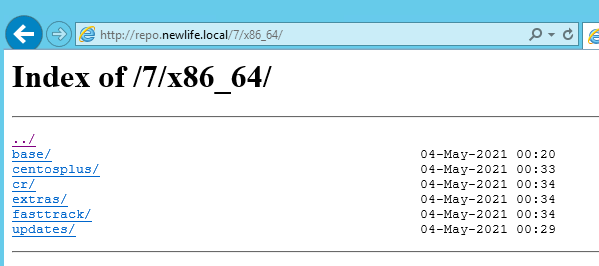
Now lets see if we cam browse the repo from a web browser.
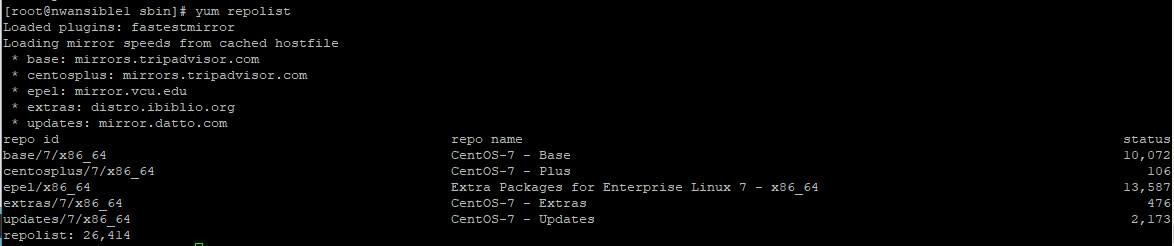
And verify all is well on the CentOS server itself.
# yum repolist
Client Configuration
The final piece of the puzzle is to configure your CentOS 7 systems to use the new local repository you have created. For this piece we will have to disable and move current repositories , create and enable the new local.repo file, clear the cache and then sync it up.


Leave a Reply