


How To Build Media Server with Emby on Fedora 21
Now for a fun post, we are going to build a Media Server on Fedora 21 using Emby (aka Media Browser) to serve up all those movies and music to your systems and all your devices (iPad’s, iPhones, Android, Roku and PC’s / Mac’s). Like many others I have procrastinated to get this done for my own collection and have wanted to convert my DVD’s into files to stream to ant of my devices. Upon digging around I found Plex and Media Browser mentioned frequently.
This will be a multi-part post where we will cover installation, configuration and many other parts of the process to build a home media server. We will cover connecting many different devices, (iPad’s, iPhones, Android, Roku and PC’s / Mac’s) and more. So let’s get started!
System Requirements
The hardware requirements for the server will depend on the number and type of devices you’re planning to connect to the Server. If all the connected devices are computers such as PC/Mac/Linux, the Server requirements are less than mobile devices that need media transcoding.
Transcoding is the process where media is converted from one resolution or format to another (e.g. playing Full HD media on some smartphones requires transcoding). The process is CPU-intensive, so an older/slower PC might not be up to the task
Windows, Mac, Linux, or FreeBSD computer
Minimum Requirements — no transcoding
- Intel Core 2 Duo processor 1.6 GHz or better
- At least 1GB RAM for Windows/Mac OS X
- At least 512MB RAM for Linux
- Windows: Vista or later
- OS X: Snow Leopard 10.6.3 or later
- Ubuntu, Debian, Fedora, CentOS or SuSE Linux
Recommended Configuration — transcoding HD Content:
- Intel Core 2 Duo processor 2.4 GHz or better
- If transcoding for multiple devices, a faster CPU may be required
- At least 2GB RAM
- Windows: Vista or later
- OS X: Snow Leopard 10.6.3 or later
- Ubuntu, Debian, Fedora, CentOS or SuSE Linux
- Network Requirements
Minimum requirements
- An ADSL/Cable/WiFi Internet connection for media metadata and software updates
- Uncongested, strong signal Wi-Fi network 802.11n OR
- Wired megabit network
Recommended configuration
- An ADSL/Cable/WiFi Internet connection for media metadata and software updates
- Uncongested, strong signal 802.11n/ac wireless network for the mobile devices
- Wired gigabit network
Install Prerequisites
To start off we need to install a few repositories, one being rpmfusion and the other Emby repository. First let’s install rpmfusion.
$ su -c 'yum install --nogpgcheck http://download1.rpmfusion.org/free/fedora/rpmfusion-free-release-$(rpm -E %fedora).noarch.rpm http://download1.rpmfusion.org/nonfree/fedora/rpmfusion-nonfree-release-$(rpm -E %fedora).noarch.rpm'
Next let’s install ffmpeg as we are going to need it for the transcribing and also wget if not already.
$ sudo yum -y install ffmpeg wget
Now let’s get Emby repo installed.
$ sudo wget http://download.opensuse.org/repositories/home:/emby/Fedora_21/home:emby.repo -O /etc/yum.repos.d/emby.repo
Install Embry Server
Now we are ready to start the installation of Emby Server. But before that you may want to uninstall ImageMagick and inkscape if they are installed.
$ sudo erase inkscape ImageMagick
Now we can run and update and then on top install the server.
$ sudo yum install emby-server
Now that it is done we can start the server.
$ sudo systemctl enable emby-server
 Created symlink from /etc/systemd/system/multi-user.target.wants/emby-server.service to /usr/lib/systemd/system/emby-server.service.
$ sudo systemctl start emby-server
Next open a browser and go to http://localhost:8096 to start the configuration wizard.

Click next to accept the language.
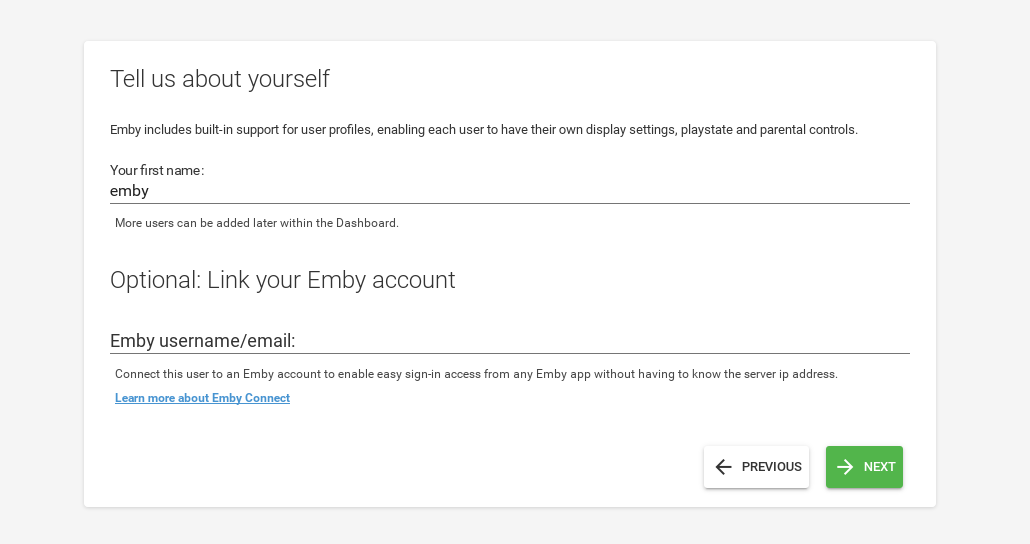
Enter in a username to use and link an email account if you have an emby account and click Next. You can use the default emby user for now and add more accounts later as well as set passwords.
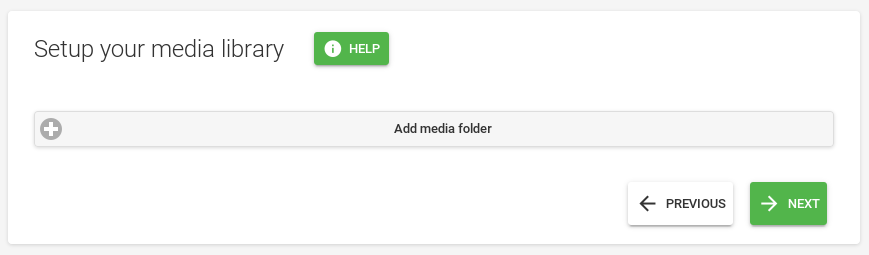
Now let’s point the server to a few folders. What we have done was create a few folders on a separate mounted drive. Click on the + and you will receive a dialog box to set the type, location and name. It is good practice to create separate directories for each of the content you are serving up. ex: Movies, Music, Photos, TV.

So let’s add Movies to the list. Click on the drop down for content type and select movies then click OK.
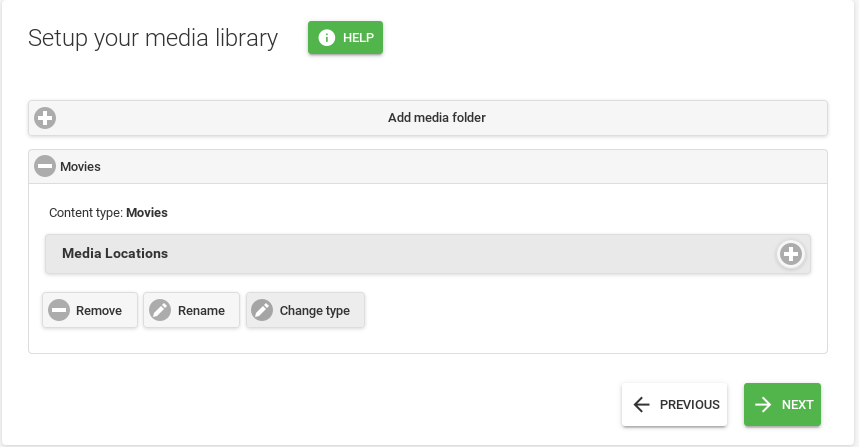
Click on the + for media locations and a browse box will appear.
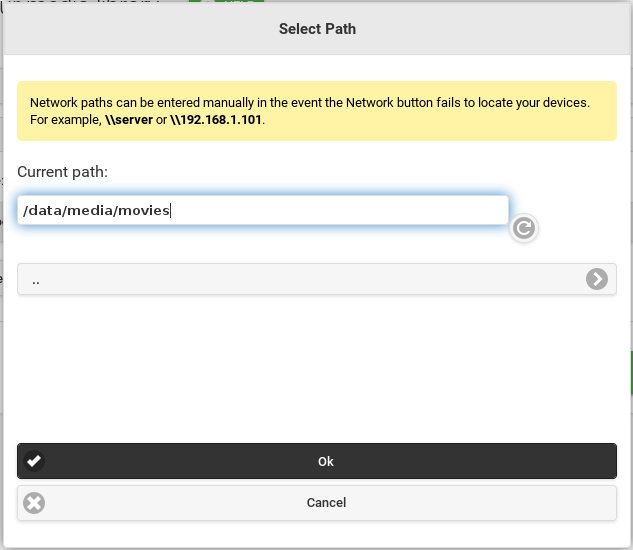
Use the selector to browse to the location and click OK.
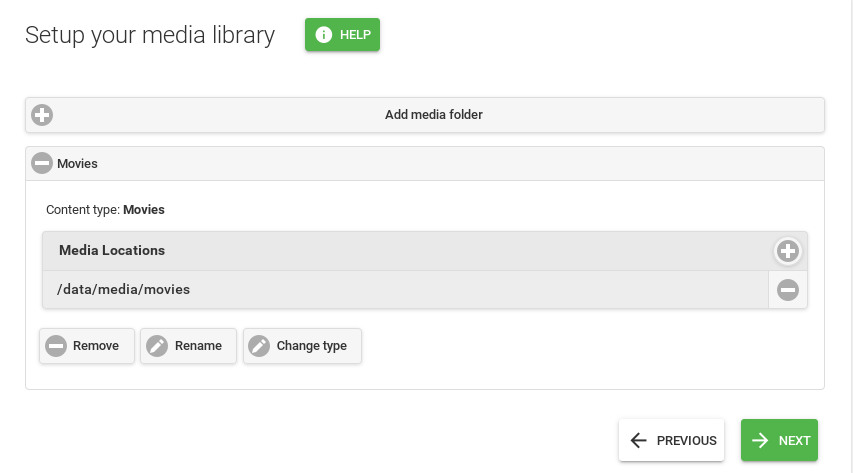
Want to add more? Just click on Add media folder and do it again. Once done click Next.
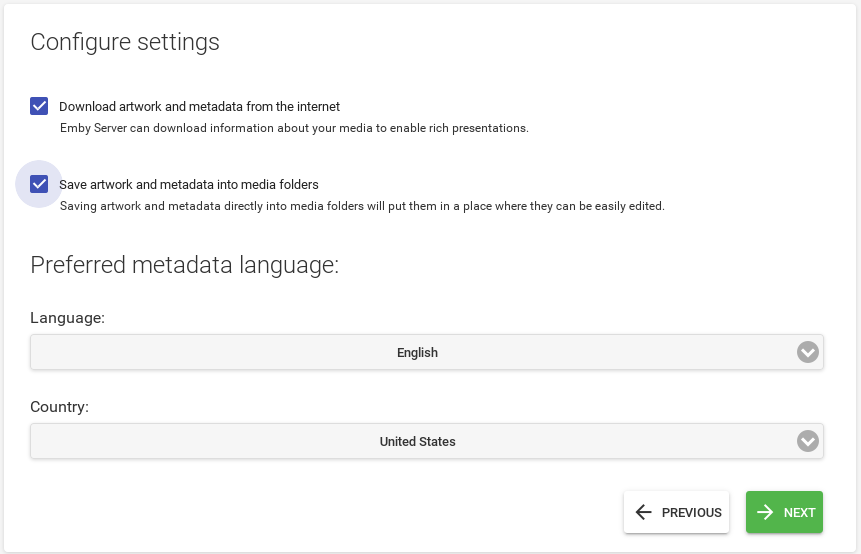
If everything looks good click next.
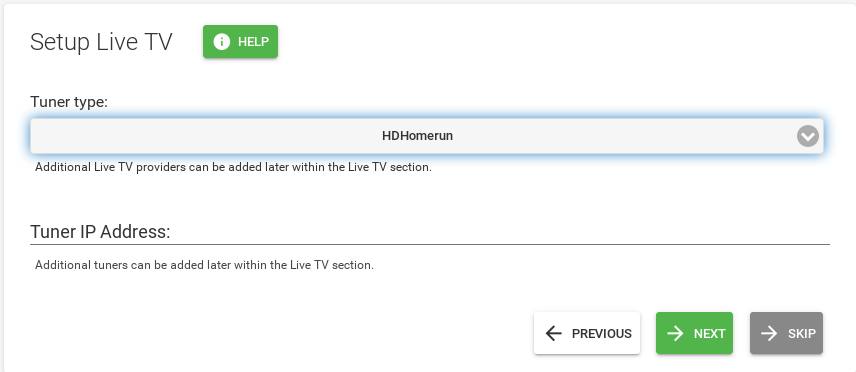
If you have a TV Tuner you can add it as well or skip.
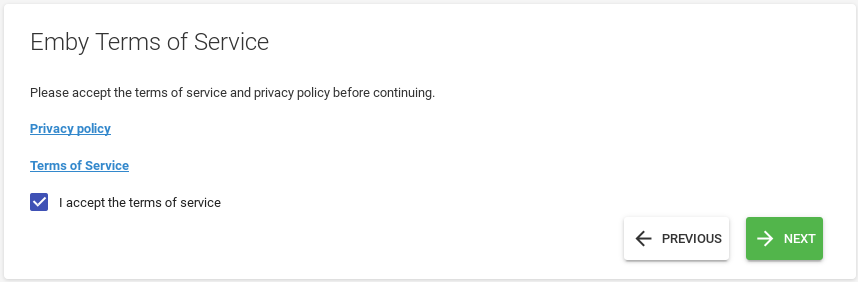
Click next to accept the terms of service.

Click Finish, we are done with the initial setup. Now we will be redirected to the login page. The account we set was emby and there is no password, which we will fix.

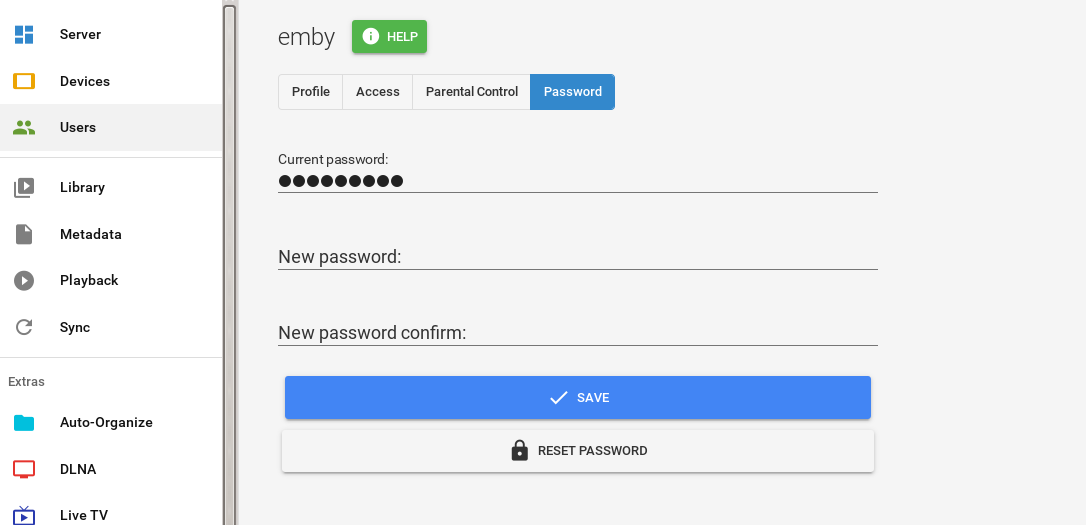
First let us set the password for the default user. Click Users > emby > password and enter in the new password, confirm it and click save.
One last thing before the server is completed and ready to move on to adding content and many other features plus connecting clients, setting the firewall!
Check to make sure of the firewall status
$ sudo firewall-cmd --state
running
Now lets add port 8096 tcp to public so systems on your network can get to it.
$ sudo firewall-cmd --permanent --zone=public --add-port=8096/tcp
success
Let’s now reload the rule changes
$ sudo firewall-cmd --reload
success
An finally let’s make sure we see port 8096/tcp in the list.
$ sudo firewall-cmd --zone=public --list-all
public (default, active)
interfaces: enp8s0
sources:
services: dhcpv6-client mdns ssh
ports: 8096/tcp
masquerade: no
forward-ports:
icmp-blocks:
rich rules:
That’s all there is to getting the server installed, running and ready for connections. Come back and check for further posts with this series on adding clients, content an other features available with Emby!


Leave a Reply