How to install Apache 2.4 PostgreSQL 9.2.4 and PHP 5.4 on Windows 7
In following along with previous posts and installing Apache stack on Windows systems I thought I might cover installing Apache 2.4, PostgreSQL 9 and PHP 5.4 on a Windows system. In this case a Windows 7 Professional 64 bit installation.
Apache 2.4 Install
First download Apache 2.4.4 from http://www.apachelounge.com/download/ (httpd-2.4.4-win32-ssl_0.9.8.zip) Apache 2.4.4-win32-ssl_0.9.8.zip.
Extract the zip and copy it to the root of C:\. This will be C:\Apache24 when it is all done.
PHP 5.4.16
Download PHP 5.4.16 VC9 x86 Thread Safe from http://windows.php.net/download/ . Extract and rename folder to php and move to C:\.
PHP 5.4.10 and newer configuration
Edit Apache’s config file, c:\Apache24\conf\httpd.conf and add the following lines to the bottom of the file.
LoadModule php5_module "c:/php/php5apache2_4.dll"
AddHandler application/x-httpd-php .php
# configure the path to php.ini
PHPIniDir "C:/php"
While we are at it we can add index.php to Apache’s list just incase we want to have a starting page as php.
Find Directory index and add index.php
DirectoryIndex index.html index.php
Next we need to input a value for ServerName variable. You will have to un-comment it. Save the changes to the config file. Next move to the Register Apache Service step.
Register Apache Service
Now let’s register Apache as a service. Open a command prompt and type.
c:\apache24\bin\httpd.exe -k install
Note: If you receive and error that MSVRC100.dll is missing you will need to download and install Visual C++ 2010 x86 Runtime. You can retrieve that from http://www.microsoft.com/en-us/download/details.aspx?displaylang=en&id=5555.
If do not want Apache starting automatically at start-up/reboot:
GUI Way
- START | RUN
- Type in services.msc, hit Enter or click OK
- Locate Apache2 service and double-click (or right-click for Properties)
- Find the caption Startup type: (in the middle of the dialog box), use the pull-down and select Manual
- Click OK
Command line
C:\> sc config Apache2.4 start= demand
Add
c:\Apache24; c:\Apache24\bin
to PATH in Environment variables. PATH ENVIRONMENT (System Properties | Advanced | Environment Variables | System variables | Path).
Example:
;c:\php;c:\apache24;c:\apache24\bin;
Now lets check Apache settings by issuing the command, c:\Apache24\bin\httpd -S
PHP Edits
Now we have to do a few edits to the php.ini file to tell it to load support for PostgreSQL and the location for the extensions. Since there is not a already set php.ini file we need to rename one of the two examples to php.ini.
Rename c:\php\php.ini-development to php.ini
Now let’s edit php.ini
Uncomment extension directory, if it doesn’t exist you will need to create it.
; Directory in which the loadable extensions (modules) reside.
; http://php.net/extension-dir
; extension_dir = "./"
; On windows:
extension_dir = "ext"

Uncomment PostgreSQL modules
extension=php_pgsql.dll
Save the changes and open a command prompt. Check to make sure it shows loaded modules.
C:\> php -m
So now we have Apache running and configured to use php. Lets create a file called info.php, save it and see if Apache parses the info correctly to display the results.
Open Notepad or your favorite Windows editor and type and save the following.
 <?php
phpinfo();
?>
Open your browser and type, localhost/info.php for the location and you should receive alot of information about PHP.
PostgreSQL
Download PostgreSQL 9.2.4 x86-64from EnterpriseDB site http://www.enterprisedb.com/products-services-training/pgdownload#windows. Select x86-32 if you are running a 32 bit version of Windows.
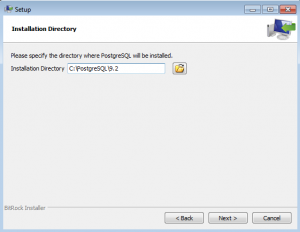
Start the installation of PostgreSQL. The installation will prompt for a location. Change the location to C:\PostgreSQL\9.2 and click next.
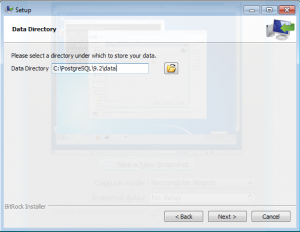
The next prompt will be for the data directory. It will inherit what you set before which is good, click next.
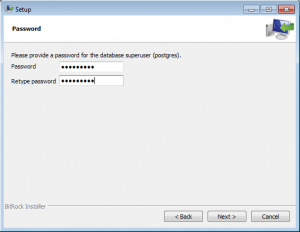
Set the root password for the database. Make sure to take note of the password. Click Next.
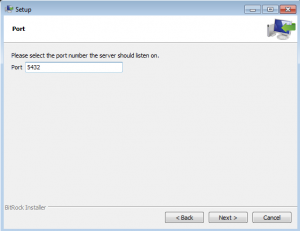
Click next to accept the default port of 5432
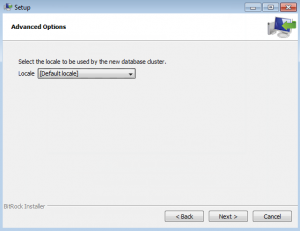
Next you will be prompted for the default locale. Click next to accept it.
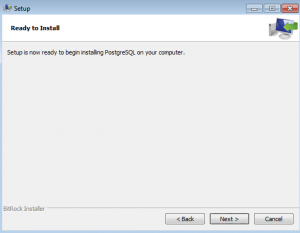
Click next to start the installation.
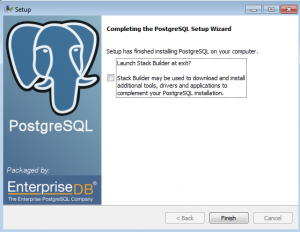
Once the installation is completed you will be asked if you want to allow Stack Builder to download and install tools, this is your choice. Click Finish when completed.
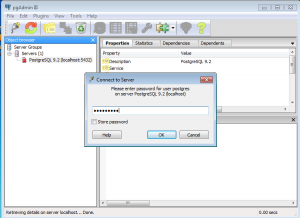
At this point PostgreSQL will start and you can verify by opening pgAdmin II and connect to it.
Now you have a running system with PostgreSQL as your database, Apache 2.4 and PHP 5.4 on a Windows 7 system.




Thank you for taking the time to write this up. After reading this I found the reason that postgres wasn’t accessible for me was because I was trying to load it with:
zend_extension = php_pgsql.dll
I should have been using:
extension = php_pgsql.dll
doh!
Thank you! 🙂
Everything works
The above detailed steps helped me to install, configure and dev apps on windows 10.
Thankq