How to Scan multiple Documents into a Single PDF with Scan2PDF
As administrators we always needs to have many ways to handle many situations. One of them involves scanning documents or some special requests for one offs, like to say a PDF file or let’s say multiple docs to a single PDF.
Well there is such a tool that exists that’s easy to use and free. It is called Scan2PDF and it runs on Win 98/2000/XP/Vista/7. It can be downloaded from http://www.koma-code.de/index.php?option=com_content&task=view&id=39&Itemid=82. The program has not been updated since 2008 but it runs very well. It comes in an installable and a portable version. Scan2PDF allows you to:
– Load images from your harddisk
– Scan images with and without interface
– Change the order of the images
– Delete images from the list
– Rotate images
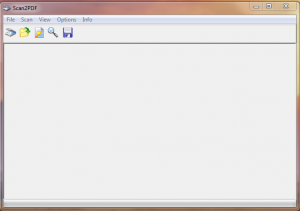
Download and extract zip and double-click on Scan2PDF.exe to install the program. The installation will give you the option to install a shortcut on your desktop. So now we are ready to start using the program. Attach and turn on your scanner or use your All-In-One. Double-click on the icon and start scanning!
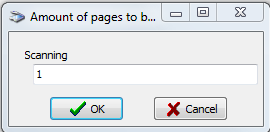
To start scanning you just click on the scan icon in the toolbar and a popup asking for how many pages to be scanned. You can click OK and accept the default of 1 page or change the number to the amount of pages you plan to scan. I typically accept the default as adding additional pages can be done by clicking on the scan button again.
The application will call up your scanning software and scan the page.
Add additional pages by clicking on the scan icon again.
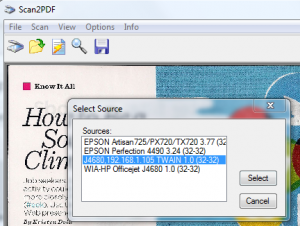
If you have multiple scanning devices you will want to tell the application which one to use. You can do this by selecting Scan > Select Source. Select your scanning and click OK.
When you are done scanning pages click on the Save icon ![]() and give the file a name. That’s all there is to use this application.
and give the file a name. That’s all there is to use this application.
You can also add images to the PDF from your hard drive by clicking on the load images symbol on the toolbar.
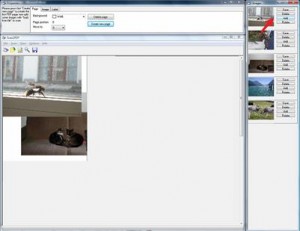
Scan2PDF offers an extended interface to get to more detail.
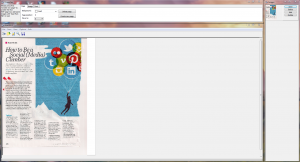
- Activate the extended mode by checking “Pro-Mode”.
- Scan images by pressing the scan-symbol in the toolbar or open existing images on your hard disk.
- Each image you add will be placed in the box on the left for further use.
- Create new pages; “Page position” shows which page is selected. Objects will be placed in the selected page.
- Now you can use the following options: add images, write a text, change the background color.
- Press “Add” to insert an image
- Insert as many images as you like, you can move them through drag&drop. The image tab allows to delete images and to change their sizes.
- The text tab can be used to write into the pdf. Write some text and press add. Edit it by clicking on it and pressing “Set”.
- The page tab can be used to change the background color and the page position.
- You can save the project as pdf file by pressing the disk symbol.
There you have it, another tool to add to your many tricks!!








Leave a Reply