Managing Your Collections with DataCrow Server
Introduction
Let’s face it, we collect things, many different things. One issue we have is keeping track of them, but with technology and many computers we have options at our disposal. One of many programs is DataCrow. I have written about this program years back and feel it needs revisited with improvements. DataCrow can be run in several different ways, portable, standalone and also as a client / server configuration. The last configuration I mentioned is the one we are going to be covering in this post, client / server. The reason is simple and goes along with a previous post in building a media server. A central place on the home network to manage and access all your content and goodies using Fedora 23 Linux as our server and any client you want. In this case Windows 7, MAC OS X and Fedora 23 Linux.
Prerequsites
The only thing needed to run DataCrow is Java version 1.7 or higher. For Fedora 23 just install java-1.8.0-openjdk. For Windows and MAC OS X clients download the latest from http://www.oracle.com/technetwork/java/javase/downloads/jdk8-downloads-2133151.html.
What Is DataCrow?
Data Crow is the ultimate media cataloger and media organizer. Always wanted to manage all your collections in one product? You want a product you can customize to your needs? Your search ends here! Using Data Crow allows you to catalog all your collectibles, no matter how large your collection is. Using the excellent online services you can instantly retrieve the information on your books, software, games and movies. This combined with the file import, which can parse information from your e-books, software, images, music and movie files you won’t be doing a lot of typing.
Are you collecting something which is not (fully) covered by one of the standard collection modules? No problem, either customize an existing module by adding the fields you need or create your own module entirely.
Once your collection resides within Data Crow you can even run your own server and allow your family and friends to view the information via the web or even by using a full Data Crow client.
So what do we need to create a DataCrow server?
Download the Server and Client package from http://www.fosshub.com/Data-Crow.html. For the server portion we will need to download Portable Server Edition (Headless). For the clients we will need to download the DataCrow installer package for the appropriate OS.
Downloading and Configuring DataCrow
Create DataCrow Folder and User Folder
Before we start running DataCrow we need to create a few folders. Data Crow can use existing user folders (databases and settings) or can initialize a new user folder to start with a clean slate. Since we are running this off a Linux system it is a good idea to create a folder and setup a group and add users to the group and set permissions, this way it easy to access it. In this example I have a 2 TB drive mounted on /data to use. Create a directory (ex: DataCrow) and copy the datacrow_4_1_0_server_zipped.zip file to it.
$ cd /data/DataCrow
$ unzip datacrow_4_1_0_server_zipped.zip
This will extract to a dc_server folder and we can now start the DataCrow server
The server has no graphical user interface (GUI) which means it relies fully on the command line. Since we have extracted DataCrow in the /data/DataCrow/dc-server directory we would start the server from the command line as such.
$ sudo java -Xmx1024m -jar /data/DataCrow/dc-server/datacrow-server.jar -webserverport:8080 -userdir:/data/DataCrow
In this example the server is given a GB of memory and we have told it where the user directories live and what port for the webserver to use. If you do not specify the webserverport value then the webserver portion will not be started. There are other options that can be passed at the command line.
<command> -userdir:<user folder> –port:<portnumber>
–imageserverport:<portnumber> -webserverport:<portnumber>
–credentials:<username>/<password>C
Explanations:
-userdir: specifies the user folder location.
Example (Windows): -userdir:c:/server-data
-port: specifies the main port number for the application server. The default port is 9000. If you do not supply the port parameter, port 9000 will be used. Example: -port:9000
When the server has been started, clients connect by starting the DataCrow Client in client mode (-client parameter):
datacrow64bit.exe -client, datacrow32bit.exe -client
datacrow.jar -client (depending on your environment).
-imageserverport: specifies the port to use for the HTTP image server. The default is port 9001. If you do not supply the port parameter, port 9001 will be used. Example: – imageserverport:9001
-webserverport: specifies the port to use for the web server. If not supplied, the web server module will not be started.
Example: – webserverport:8080
When started, clients connect to the server as follows:
http://<server address>:<webserverport>/datacrow
Example: http://192.168.1.12:8080/datacrow
-credentials: username and password for the administrator. This is a required parameter for security reasons. The default user for Data Crow is SA with a blank password. It is recommended to set a password for each user when using the client-server setup.
Example #1 (user rwaals, pw 123456): -credentials:rwaals/123456
Example #2 (default user): -credentials:SA
Stopping The Server
Press CTRL-C in terminal / command prompt window.
Connecting Clients
Installation for the clients is similar to the server portion. Main difference is we will have to configure the clients to talk to the server. Since we know the thick clients are using Java to connect. For Windows clients the installation is simple. Extract the zip and run the installer setup32bit.exe or setup64bit.exe. Once the installation has completed you can start with the -client option to connect to the server.
example:
(64 Bit)
C:\Program Files\Data Crow\datacrow64bit.exe -client
(32 Bit)
C:\Program Files\Data Crow\datacrow32bit.exe -client
Linux and MAC OS X Clients are similar to the server we just setup. Extract the zip file that you downloaded, extarct the files and run installer.sh. Once installation has completed you can start it just like the server.
$ java -Xmx1024m -jar ~/DataCrow/datacrow.jar -client
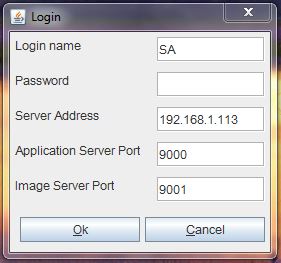
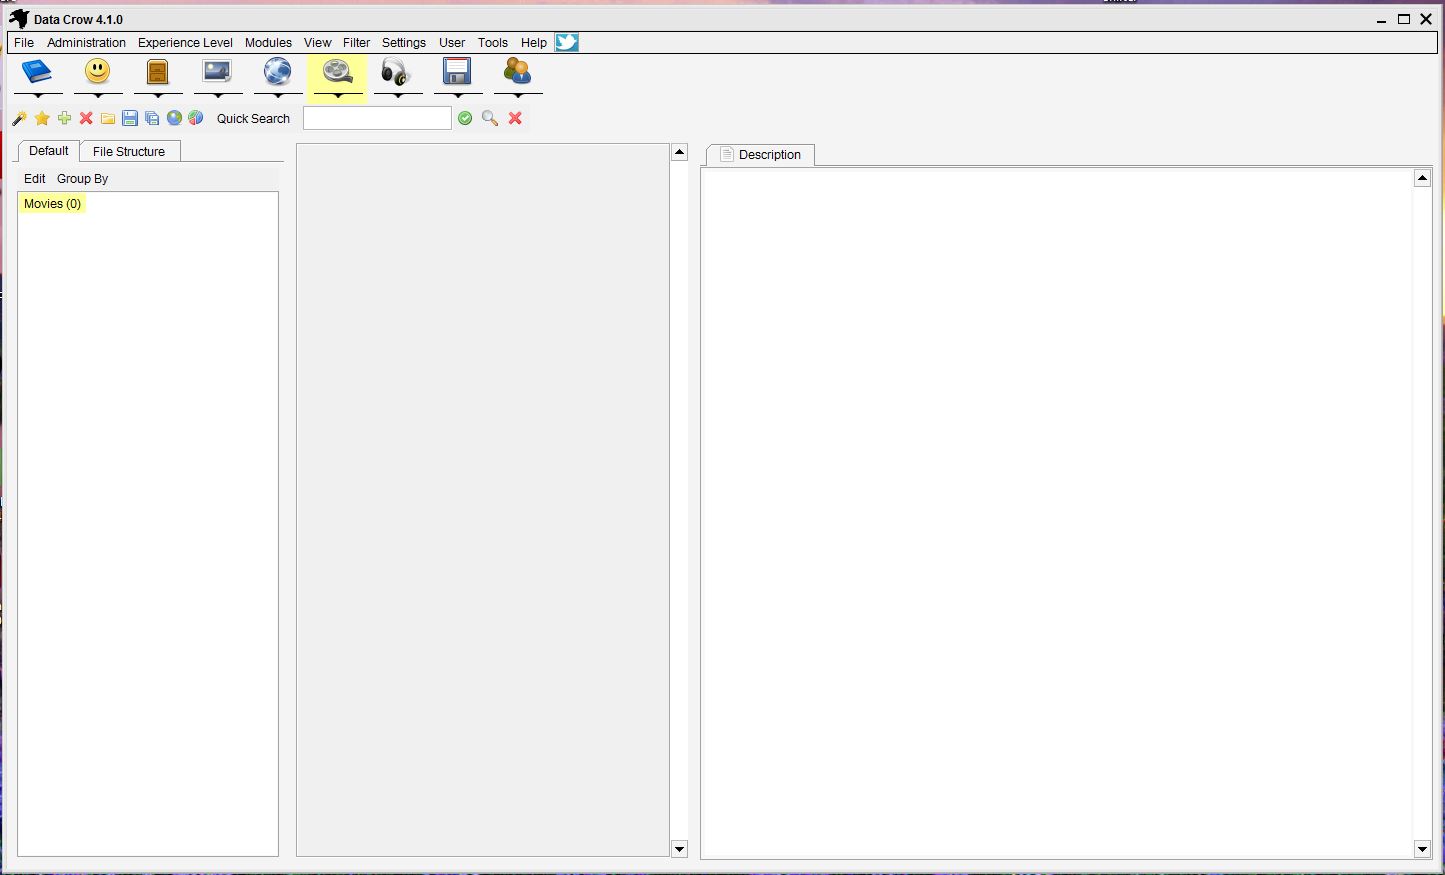
Enter in username and password and click ok. You will then be logged in and right into adding your collection.
Conclusion
We now have a client / server setup for DataCrow and can now start adding your collection to a central location from many different clients. Check back for future posts on how to do just that and more.


where define my credentials in the side server, i create a account in module user ap/1234
but when i start in the side server
# sudo java -Xmx1024m -jar datacrow-server.jar -userdir:db_data_crow -webserverport:8080 -credentials:ap/1234 …. fail no found credentials
i create a file called datacrow.credentials in dc_server, but nothing 🙁