


How To Mount NFS Exports on Windows Server 2012 R2
Introduction
So you have a Windows Server 2012 R2 server and you need to have the ability to have this server access an NFS export. No problem due to Client for NFS Windows feature. Using this Windows feature and the mount command we can access NFS exports. In this post we will cover adding the feature and command sot access and also how to create a server mount at boot using local policy and a command file.
Process
First part of the puzzle is to install Client for NFS. You can do this using Server manager or using PowerShell.
Open PowerShell with Administrator access and type the following command.
add-windowsfeature NFS-Client
Once the process is completed reboot your system and you are ready to go.
For the GUI installation it is a few more clicks.
Open Server Manager
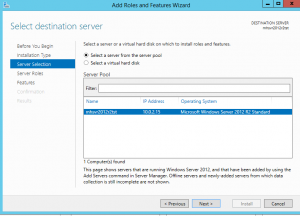
Click Manage > Add Roles .
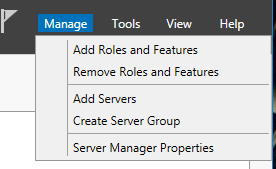
And Features and the wizard will begin
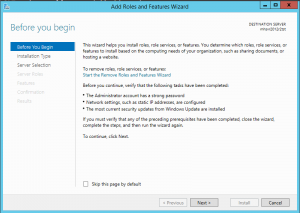
Click Next.
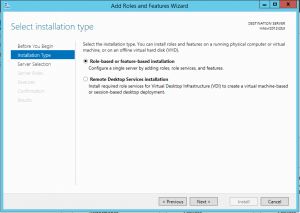
Click Next.
Click Next.
Click Next.
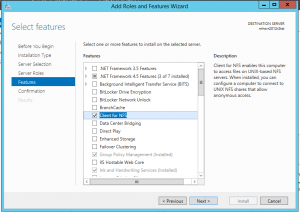
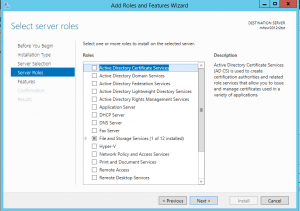
Select Client for NFS and click next.
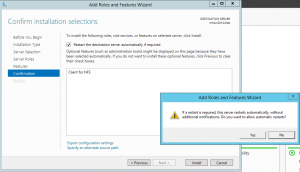
You may receive a popup, click OK then click next to proceed with the installation.
Now that the installation is completed and a reboot performed you will receive a popup stating client is ready for use after logging into the server.

At this point the Linux / Unix guys need no assistance as this is a common command, but for Windows administrators this is a new command to add to the arsenal.
The mount command has a fairly simple set of options.
C:\Windows\system32>mount /?
Usage: mount [-o options] [-u:username] [-p:<password | *>] <\\computername\sharename> <devicename | *>

-o rsize=size                           To set the size of the read buffer in kilobytes.
-o wsize=size                          To set the size of the write buffer in kilobytes.
-o timeout=time                    To set the timeout value in seconds for an RPC call.

-o retry=number                   To set the number of retries for a soft mount.
-o mtype=soft|hard              To set the mount type.
-o lang=euc-jp|euc-tw|euc-kr|shift-jis|big5|ksc5601|gb2312-80|ansi    To specify the encoding used for file and directory names.
-o fileaccess=mode               To specify the permission mode of the file.


 These are used for new files created on NFS servers. Specified using UNIX style mode bits.
-o anon                                   To mount as an anonymous user.
-o nolock                                To disable locking.
-o casesensitive=yes|no      To specify case sensitivity of file lookup on server.
-o sec=sys|krb5|krb5i|krb5p
We are now ready to mount our export to a drive letter setting read and write buffers to 32, setting it to read/write and hard mount type. Our command will look like the following. Note, if there are user and password restrictions you will need to add -u and -p to the command line.
C:\> mount -o rsize=32,wsize=32,fileaccess=rw,mtype=hard \\mynas.com\ifs\NFS I:
Once the command has been executed you should now have the I drive in your list and be able to access and use the mounted NFS export.


Leave a Reply