


How to Collect Clariion VNX SPCollects via Unisphere
Overview
As a storage administrator there are times in which EMC support asks for SP Collects. As a new administrator this maybe a new request, no worries here are the steps to collect the information.
Process
To collect the SPCollects via the Unisphere GUI, follow these steps:
- Log in to the CLARiiON/VNX via Unisphere.
- On the Dashboard screen, select the CLARiiON/VNX system you wish to generate SPCollects from.
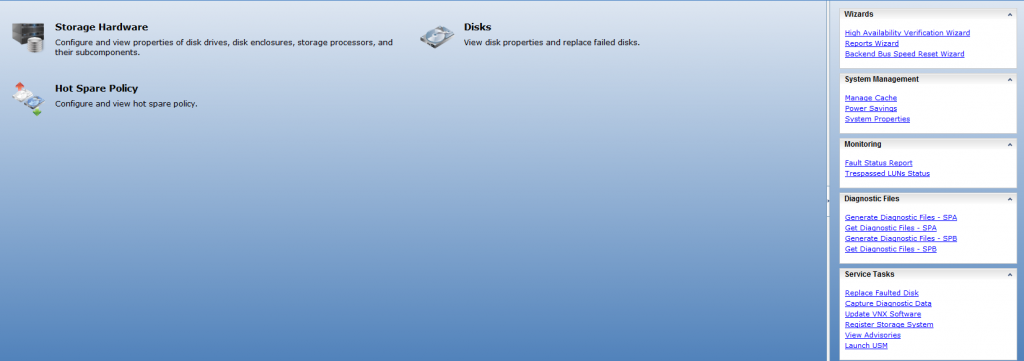
- On the System Information screen there is a Task panel containing SPA Tasks and SPB Tasks.
- To generate SPCollects for SPA:
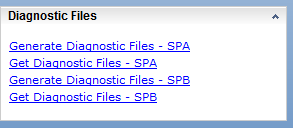
- Select Generate Diagnostic Files from the SPA Tasks panel.
- A confirmation window will appear, select Yes to start the SPCollect script now.
- Click OK to confirm the task successfully starts.
- The SPCollect script may take several minutes to complete. To verify the SPCollect creation for SPA:
- Select Get Diagnostic Files from the SPA Tasks panel.
- The SPA File Transfer Manager window will appear.
- Enlarge the SPA File Transfer Manager window and resize the Files On SP panel for easier browsing.
- Click twice on the Date column in the Files On SP panel to show the most recently created files first. Enlarge the Name column so that the full file names can be read.
- If the SPCollect script is still running, you will see a file of the format {SERIAL NO}_SPx_YYYY-MM-DD_HH_MM_SS_runlog.txt which corresponds to the array serial number, SP id and the date and time (GMT) that the SPCollect script was started on the SP.
- Wait a few minutes and click on Refresh to update the Files On SP display.
- When the SPCollect script has completed the Files On SP panel will show a file of the format {SERIAL NO}_SPx_YYYY-MM-DD_HH_MM_SS_xxxxx_data.zip which corresponds to the array serial number, SP id and the date and time (GMT) that the SPCollect script was started on the SP.
- To retrieve the SPCollects from SPA:
- In the SPA File Transfer Manager window from above, click on the required SPCollect zip file in the Files On SP panel.
- In the Destination Directory panel, select the destination directory on the local host that the SPCollect should be transferred to.
- Click on the Transfer button at the bottom of the File On SP panel to begin the file transfer operation.
- A confirmation window will appear, select Yes to start the transfer operation.
- The Transfer Status panel will report the results of the file transfer operation.
- Click OK to close the SPA File Transfer Manager window and return the System Management screen.
- Repeat the above Steps to generate and retrieve SPCollects for SPB.
You are now ready to upload the results to EMC Support for your SR.


Leave a Reply