Zabbix is an Open Source monitoring solution similar to Nagios. In this post we will cover basic installation on Ubuntu Server 20.04 LTS. The steps listed here assume you have an Ubuntu Server 20.04 LTS installed and running.
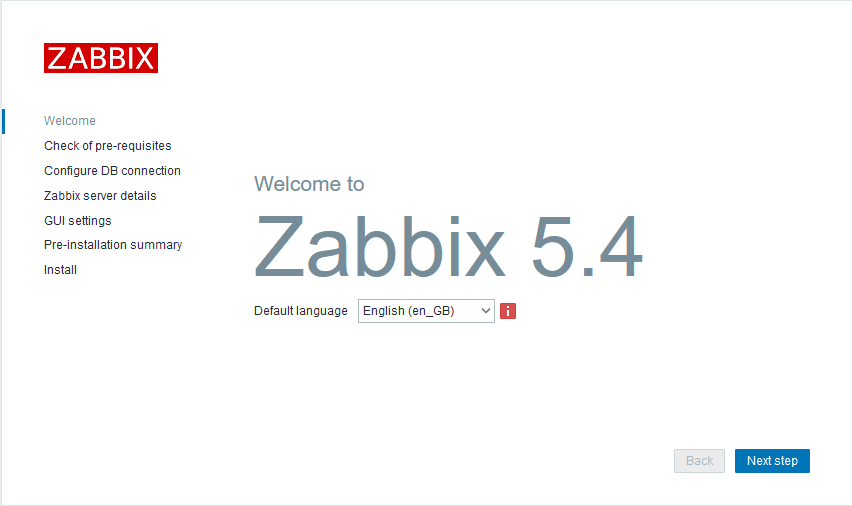
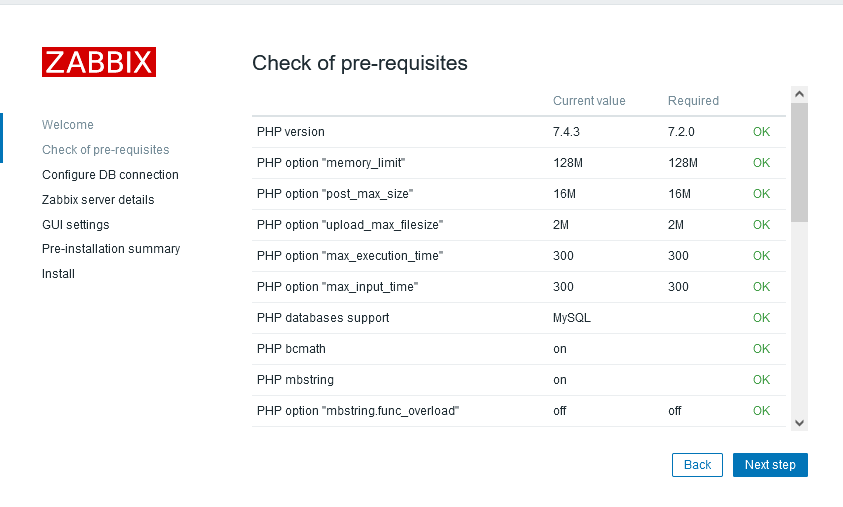
Installation of Zabbix
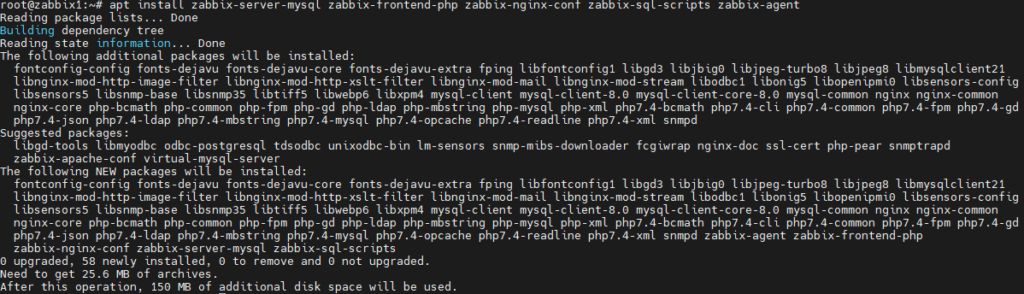
First step is to add the Zabbix repository to your server.
Run the following on your database host.
# mysql -uroot -p
mysql> create database zabbix character set utf8 collate utf8_bin;
mysql> create user zabbix@localhost identified by 'mypasword';
mysql> grant all privileges on zabbix.* to zabbix@localhost;
mysql> quit;
On Zabbix server host import initial schema and data. You will be prompted to enter your newly created password.
# sudo zcat /usr/share/doc/zabbix-sql-scripts/mysql/create.sql.gz | mysql -uzabbix -p zabbix
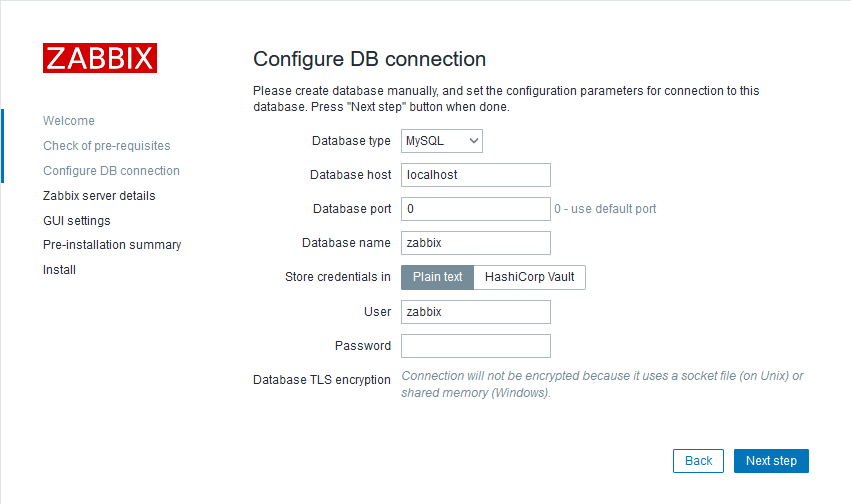
Configure the database
Edit file /etc/zabbix/zabbix_server.conf. Find DBPassword and uncomment and add password.
DBPassword=password
Configure PHP
Next step is to configure the PHP server
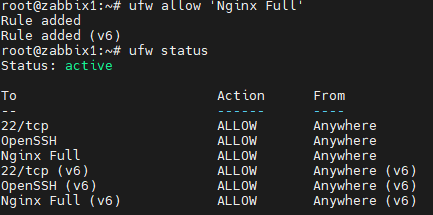
Edit file /etc/zabbix/nginx.conf, uncomment and set ‘listen’ and ‘server_name’ directives.
# listen 80;
# server_name example.com;
Start Zabbix server and agent processes and make it start at system boot.
This website uses cookies so that we can provide you with the best user experience possible. Cookie information is stored in your browser and performs functions such as recognising you when you return to our website and helping our team to understand which sections of the website you find most interesting and useful.
Strictly Necessary Cookies
Strictly Necessary Cookie should be enabled at all times so that we can save your preferences for cookie settings.
If you disable this cookie, we will not be able to save your preferences. This means that every time you visit this website you will need to enable or disable cookies again.


Leave a Reply