How To Convert M2TS to MKV Using MKVtoolNIX
Introduction
So you are in process of building a Media Server in your home to move your collection from DVD / Blu-Ray to your drive to stream to your TV’s and other devices. While transferring and you have run into a file on the Blu-Ray that has the m2ts file extension. The question is how do we make this available for streaming? Simple answer and solution is to convert to another format. In this post we will cover how to convert using the command line with mkvmerge and MKVToolNix.
Mkvmerge is part of MKVToolNix tools, MKVToolNix is a set of tools to create, alter and inspect Matroska files under Linux, other Unix and Windows.
All of the steps we will be doing will be done on Linux running Fedora 21.
Step 1 – Install Needed Applications
First we will need to install mkvmerge which is part of MKVToolNix, which we will be installing from the developer as the Fedora packages install the command line tool and not the GUI and also we will get the latest releases when running updates.
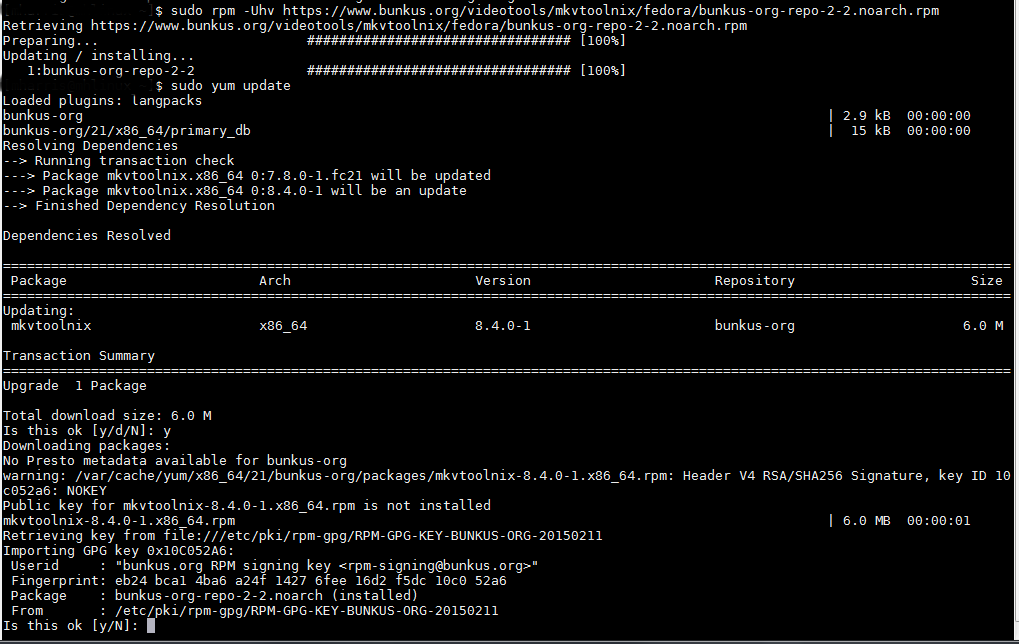
First we must add a repository from the developer. In order to add the repository all you have to do is to execute the following two commands:
$ sudo rpm -Uhv https://www.bunkus.org/videotools/mkvtoolnix/fedora/bunkus-org-repo-2-2.noarch.rpm
Afterwards you can install MKVToolNix with the following command on Fedora Core 22:
$ sudo dnf install mkvtoolnix
For Fedora Core 20 and 21 just use »yum« instead of »dnf«:
$ sudo yum install mkvtoolnix
Step 2 – Run a Conversion Command Line
Now we are ready to make the conversion. Open a terminal and and change to the directory that the m2ts file resides. At this point we are ready to use mkvmerge. The syntax is
mkvmerge -o <outputfilename>.mkv mym2ts.m2ts
The conversion is now complete and you can play the resulting file. There are a few other steps to do to edit the metadata for the mkv file like a title if you would like. You can accomplish this using mkvtoolnixgui or from a tool installed with the mkvtoolnixgui install called mkvpropedit.
Editing the Title
So let’s add a title to the converted mkv file we just created. This is accomplished with mkvpropedit.
mkvpropedit <outputfilename>.mkv –edit info –set “title=My movie”
Pretty simple, but this is not all mkvpropedit is capable of changing and there are also a plethora of tools and options contained in the MKVToolNIX package.
Step 3 – Run a Conversion using MKVToolNix GUI
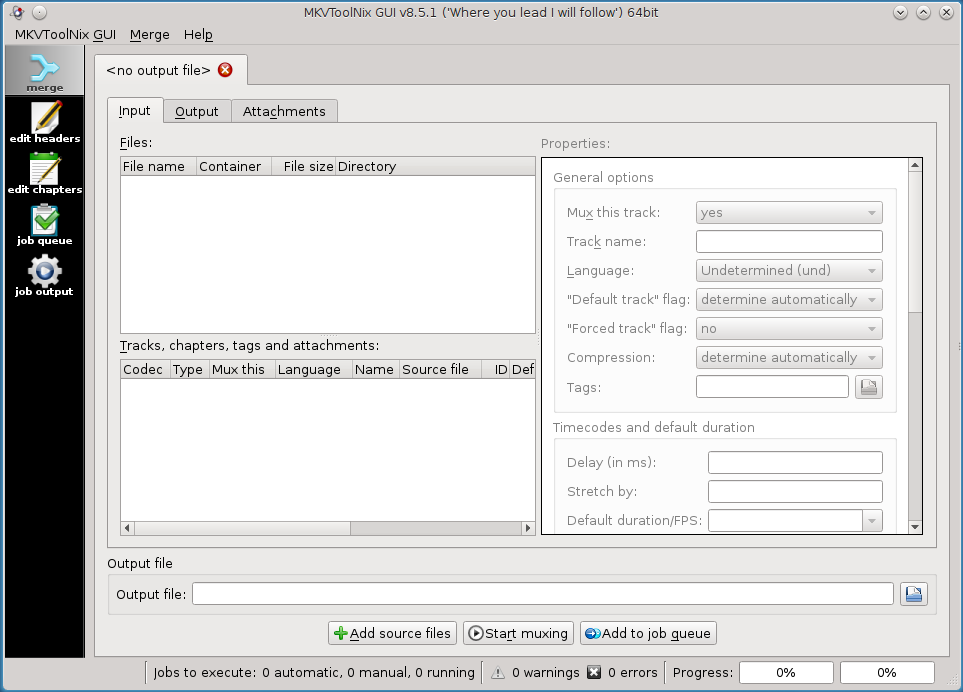
If you have used the bunkus repository to install MKVToolNix you will have the GUI in your menu and you will have other options available for configuration during your conversion. Start the MKVToolNixGUI from you menu. If you are using KDE the shortcut will be under Multimedia. Once started you will be greeted by the clean interface.
Click on Add Source files and browse to the m2ts file you want to convert and load it. Next click on the folder icon in the output file and select a destination and a file name to use for the conversion. Click OK to accept the and you will be sent back to the previous screen.
At this point you are ready to make the conversion. Click on Start muxing and you are off to the races. Once done you can changes to the title as you did from the command line in the GUI.
Conclusion
There you have it, from a command line or an optional GUI you can convert m2ts to mkv using MKVToolNix and edit some of the metadata as well!


I use iDealshare VideoGo to convert m2ts, mts, m2t to MKV.
this solution is the easiest and simplest to make, especially taking advantage of the power of linux
and also it is free and open