How To Create a Bootable Disk to Update BIOS and Firmware Using Dell Repository Manager
Recently came upon an issue during upgrading ESXi that required updated firmware and bios on Dell hardware. This posed a problem as ESXi was set to boot fron USB and there was no operating system installed locally. This only left a few options to how to update the systems.
- Use Dell Systems Management Tools and Documentation disk and SUU (Systems Update Utility) and select the update firmware option.
- Use Dell Repository Manager 2.0 to create a bootable disk for that specific model
The first option works but requires swapping disks and being physically at the server. You can do this through the drac but it gets a little flaky when you have multiple virtual objects. The second option is the best and allows you to create a Server specific bootable disk that you can update the system through the drac from your system and that is the option we will discuss in the post.
Dell Repository Manager is an application that allows you to create customized bundles and repositories on systems running the Microsoft Windows operating system. The customized bundles and repositories are made up of Dell Update Packages (DUPs) based on certain specified criteria. DUPs are software utilities provided by Dell to update specific software components on Dell PowerEdge systems. Using Repository Manager ensures that your Dell PowerEdge system is equipped with the latest BIOS, driver, firmware, and software updates.
Preparation
First we must download and install Dell Repository Manager from here.
Once you have completed the installation double-click on (Data Center Version) Dell Repository Manager v2.0.0 link created on your desktop.
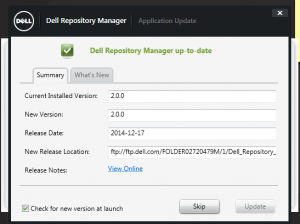
First screen will be the application checking for updates. Click Skip.
Now we need to connect to a Source for downloading the packages. From the pulldown menus click on Sync Database with Dell Online Catalog
ISO Creation
Once completed we can start to create the ISO. Click Create a New Repository from the welcome screen.
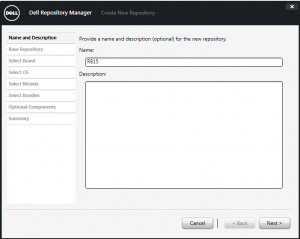
Give the Repository a name. In this example we are creating for a PowerEdge R815 server so we chose R815. Click Next when ready.
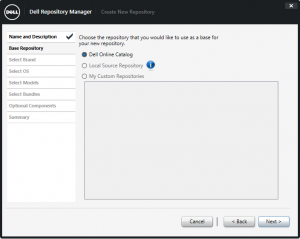
Now we see the Dell Online Catalog is selected for the Base Repository, click next.
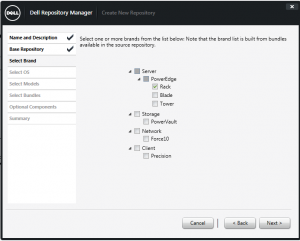
Now we must select what brand we want. In this case we are looking for a PowerEdge R815 rack mount server so unselect all but Rack and click Next.
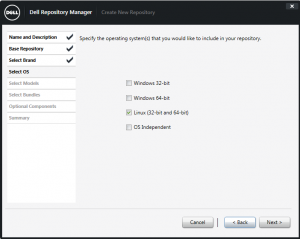
Since we are updating bios and firmware we do not require OS dependent updates. Select Linux and click next.
Click Select Models and find the model that will be updated. In this instance we are selecting PowerEdge R815. Click Next when completed.
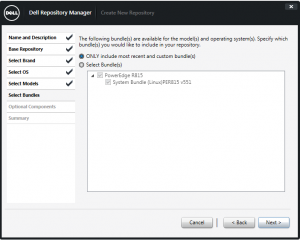
Click next for the bundles selection and click next.
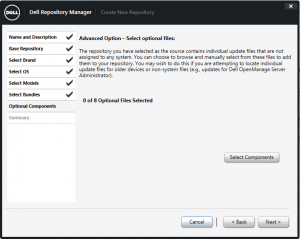
Click next for optional components.
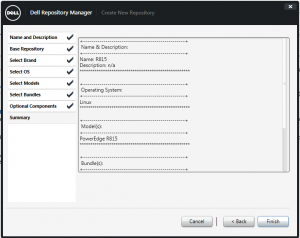
Click Finish.
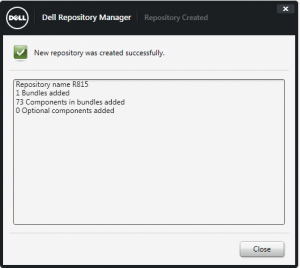
Click Close when complete and the new bundle repository will be shown.
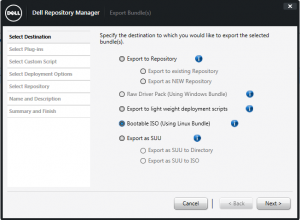
Now we can create a bootable ISO. Click on the repository you just created and click Export.
Select Bootable ISO and click Next.
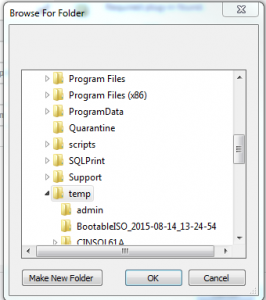
At this point Dell will check for a required plugin to be installed. If not it will download when the export starts. Click Next. Select the folder to save the result file to. In this case C:\temp.
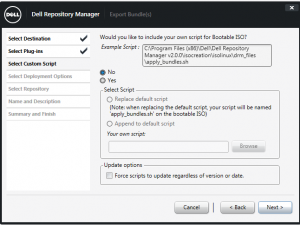
Click OK, click next for custom script.
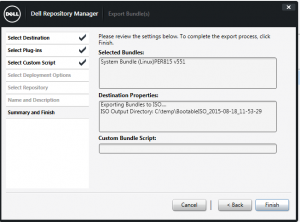
Click Finish to start the ISO build process.
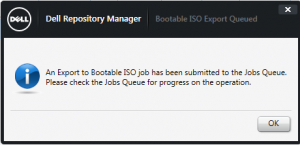
A popup will appear stating that the process has been sent to the job queue. After clicking close the job process will display at the bottom.
Once the job has completed you will find an ISO in the C:\temp\BootableISO_<date> folder to burn with ISO burning program of your choice. Or if you want you can mount the ISO in Dell Drac for the server and reboot the system and update remotely.
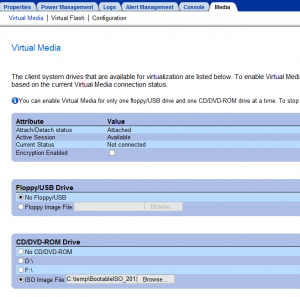
Login to your drac and click on the media tab (DRAC 5). For an iso select ISO image file and browse to the newly created iso file in c:\temp. Click connect. For CD boot select your CD drive and click connect.
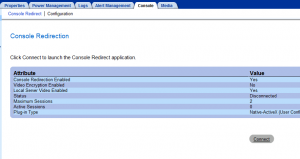
Now click on the Console tab and click Connect to start a remote console session.
Reboot your server and press F11 when prompt is available to choose boot menu. Press option 1 or just let the boot process select it for you when the ISO loads and your system will be updated.



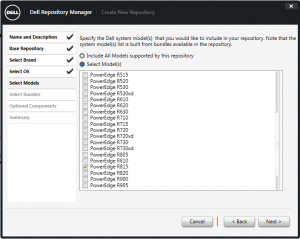




Excellent job friend but can not find the R900 in the list of models to select 🙁