


How To Enable Disk Cleanup on Windows 2008 R2
Ever wondered how or what you can delete from the C:\windows\winsxs directory without busting your Windows 2008 R2 server? We wonder no more, Microsoft has allowed this using the Disk Cleanup tool. In this post we will discuss how that is achieved and what is required and what you can do.
The Disk Cleanup wizard that would cleanup previous versions of Windows Update files, KB2852386 adds a Disk Cleanup option on Windows Server 2008 R2. After installing this update and prior to being able to perform the cleanup, the Desktop Experience feature must be installed. Why you ask? Disk Cleanup is not installed by default on Windows Server 2008 R2. It is instead a component installed with the Desktop Experience feature.
Installing the update is just like installing any other update. Just download and double-click on the .msu file:
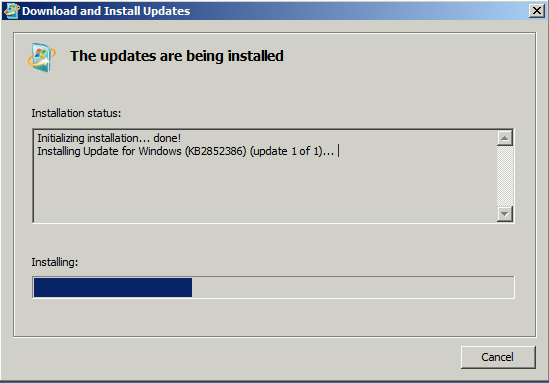
Installing the update does not require Desktop Experience to be installed beforehand, but if you check your WinSxS directory again, you’ll see there has been no change to the size. This is expected as we need to run Disk Cleanup in order for this to take effect. It also does not require a reboot to install the hotfix.
We can’t do anything with what we just installed until we get Disk Cleanup which is installed with the Desktop Experience feature.

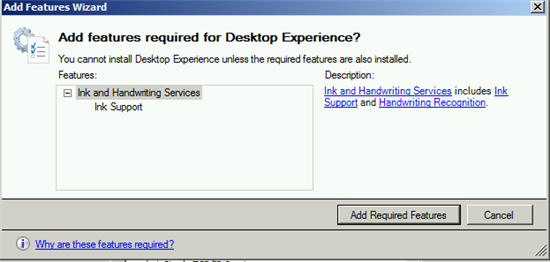
When installing Desktop Experience, it does require additional features. Select the button to Add Required Features and click Next and then Install:
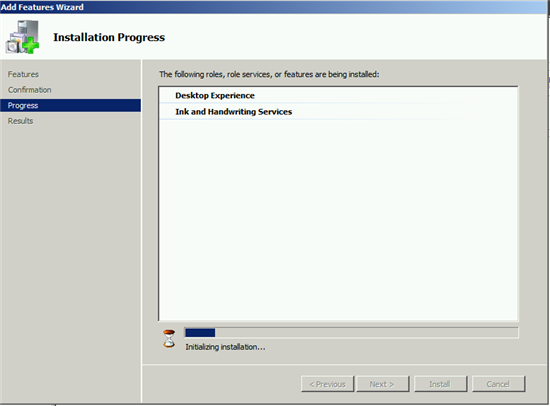
A reboot is required to finalize the install.
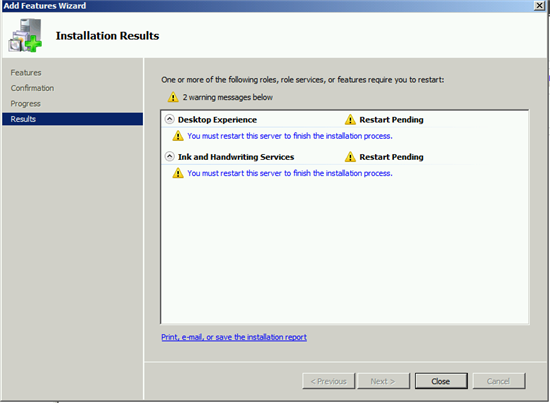
Click Close and Reboot when prompted.

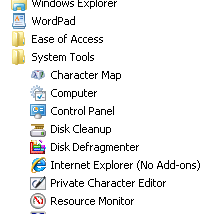
After we reboot, a Disk Cleanup option can be found under Start –> All Programs –> Accessories –> System Tools:
On launch, Disk Cleanup prompts for the drive you want to clean up.
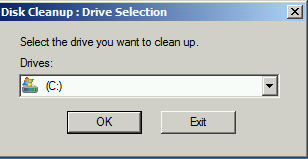
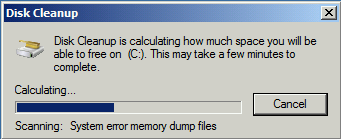
After clicking Ok, a scan is performed.
Several options are provided for cleanup, including a new option for Windows Update Cleanup
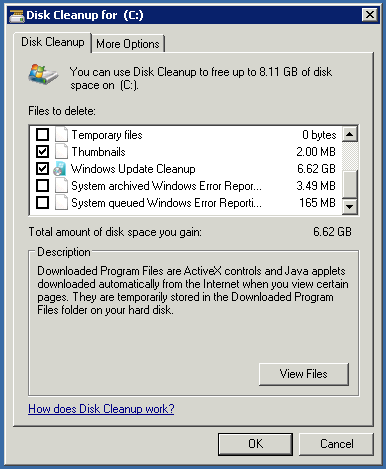
Click OK to accept the changes and after a reboot the space will be freed.


Leave a Reply