How To Install Windows Server 2016 Technical Preview 2 on VirtualBox 5
We Administrators love our toys and also a chance to see what the latest operating systems have to offer us. Especially the latest Windows Server version. the latest of which is Windows Server 2016 Technical Preview 2. Being one of those administrators that is curious I had to see what is coming. In this post we will be installing the latest technical preview on VirtualBox 5.0.
Note: VirtualBox 5.0 r101573 does not fully support Windows 10 or Windows Server 2016 TP2 at this writing. The OS will install but VirtualBox extensions will not work.
So let’s get started. You can download Windows Server 2016 TP2 from here. It requires a login to download the preview. A few notes from Microsoft on the technical preview.
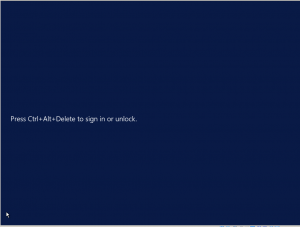
An IMPORTANT NOTE regarding the ISO image for Windows Server Technical Preview 2: If you encounter a black screen during the install process (at the stage where the installation is complete and you are prompted to set the administrator password and logon), press Ctrl+Alt+Del which will return you to the screen where you can set the password and logon. There are other situations where you may need to press Ctrl+Alt+Del to advance during logon, see more details in the Release Notes.
1. Review Windows Server Technical Preview 2 release notes and system requirements
2. Register, then download and install the preview. Technical Preview 2 expires October 15, 2015.
3. Receive email with resources to guide you through your preview
Installation Guidelines
When moving from Windows Server Technical Preview to Windows Server Technical Preview 2, you will need to uninstall the previous version for a clean installation of Technical Preview 2.
Upon installation, you will be prompted to activate. A product key is not required for the ISO installation.
VHD installation requires the following product key:
JGNV3-YDJ66-HJMJP-KVRXG-PDGDH
Now that we have the ISO and information we can start creating the VirtualBox VM. If you have the resources on your host go with the following.
- Memory : 4 GB
- 40 GB Hard drive
- Display 128 MB
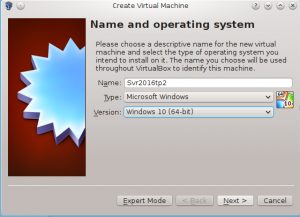
Click New to start the wizard.
Click Next
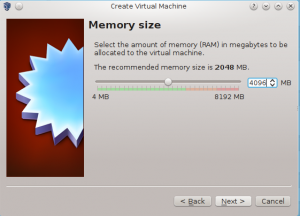
Set memory to 4096 or leave at 2048 if you prefer., click next.
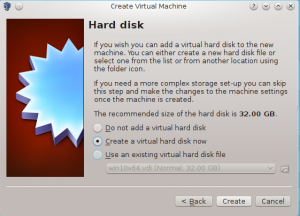
Click Next to accept the hard drive settings. We can change the size if needed in a future screen.
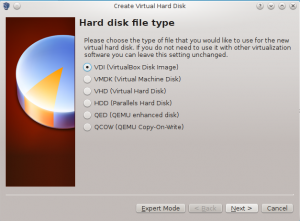
Click next to accept the hard disk type of VDI.
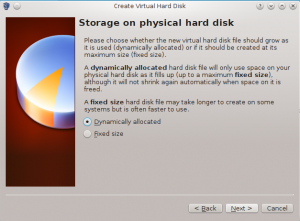
Click Next to accept the default.
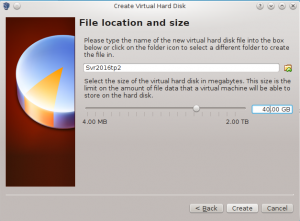
At this point we can change the drive size to 40 GB if we want to or keep 32 GB. Click next and the wizard will completed. Time to start the VM.
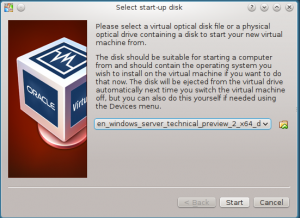
Browse to the downloaded ISO and click next when ready.
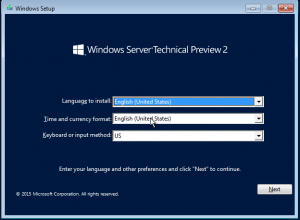
Click Next.
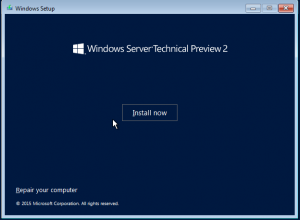
Now we are ready to start the installation. Click Install Now.
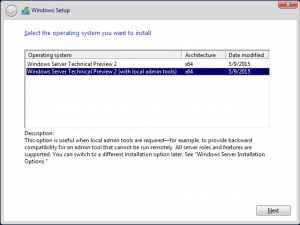
At this point you can select the type of installation. In this instance I want to have the local admin tools. Click next.
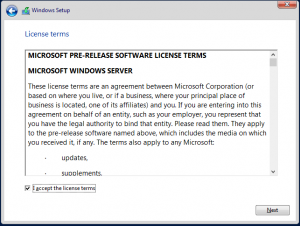
Accept the license terms and click next.
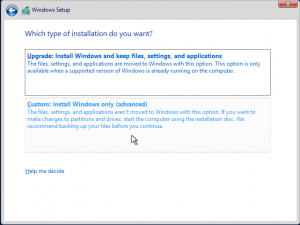
Select Custom.
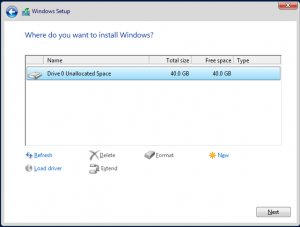
Click Next to select the drive and start the install process.
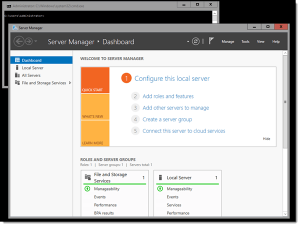
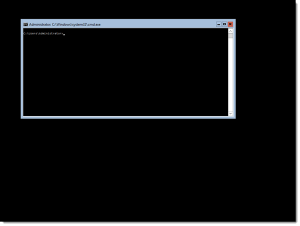
The installation will complete and the system will reboot and put you at the login prompt. Upon login you will be prompted to set the admin password. Once done you will see ServerManager startup. If you didn’t select to install the local admin tools you will see the prompt screen.
That is all there is to installing Windows Server 2016 TP2. But wait you say, where is the GUI? No problem, just proceed to the post here on how to install the GUI.
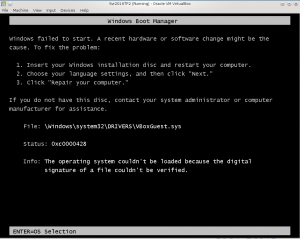
A few other notes to keep in mind is VirtualBox extensions are not supported yet on version 5 at this time. If you install them you will receive an error and will have to redo your VM unless you have taken a snapshot before installing. The error looks like below.







Plz tell me administrator password of Windows server 2016 preview 3.
The password is what you set at the time of installation, there is no set default password.