How To Update ESXi 6.x From CLI
How To Update ESXi 6.x From CLI
Introduction
Been setting up test VM’s on my ESXi 6.7 host and found several critical patches out there that needed to be applied. Since I have only one host I looked to the CLI.
Process to Update ESXi
Place the host in maintenance mode, enable SSH to your host, and log in.
Right-click your host and select Enter Maintenance Mode.
- Select Manage > services.
- Select TSM-SSH > START.
Log into the host via SSH. You can use putty, the terminal, or your favorite SSH client.
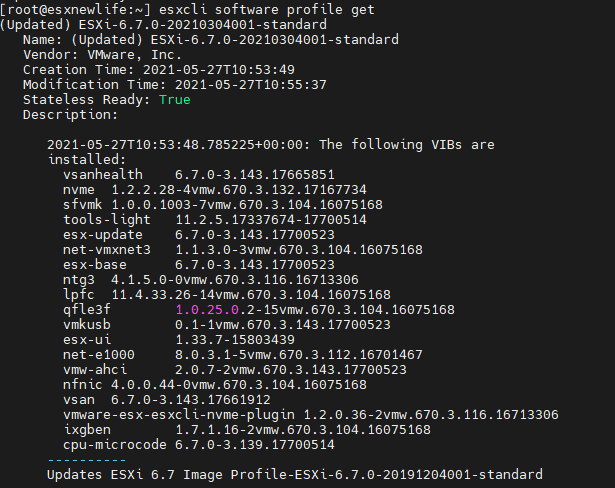
Check the profile you are running.
esxcli software profile get
Enable the host firewall rule to allow web traffic
esxcli network firewall ruleset set -e true -r httpClient
List the online depot profiles available to you. This operation might take some time.
You can append grep -i ESXi-6 to narrow down the search.
esxcli software sources profile list -d https://hostupdate.vmware.com/software/VUM/PRODUCTION/main/vmw-depot-index.xml | grep -i ESXi-6.7.0-2021
Select the package you want to install and insert it into the command.
When the update is complete, the following message will be printed on your screen: The update completed successfully.
esxcli software profile update -p PACKAGE_NAME -d https://hostupdate.vmware.com/software/VUM/PRODUCTION/main/vmw-depot-index.xml
my example:
esxcli software profile update -p ESXi-6.7.0-20210304001-standard -d https://hostupdate.vmware.com/software/VUM/PRODUCTION/main/vmw-depot-index.xml
Restart the host and check its profile version. Wait for the host to come back online before you run the profile check.
reboot

esxcli software profile get


Leave a Reply