How To Install Nmap on Windows 2008 / 7
Nmap (“Network Mapper”) is a free and open source (license) utility for network discovery and security auditing. Unix / Linux administrators have been enjoying using nmap useful for tasks such as network inventory, managing service upgrade schedules, and monitoring host or service uptime. Why should Windows Systems Administrators have the this tool added to their arsenal? Well you sure can as the nmap team has a Windows binary and we are here to tell you how to install it.
The current version at this time of writing is 6.40. Download the self installer from http://nmap.org/dist/nmap-6.40-setup.exe.
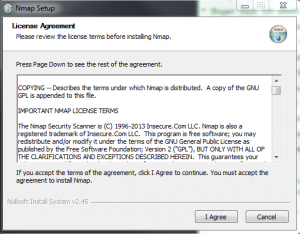
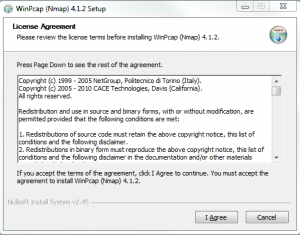
Double-click to start the installation. Click I Agree to the license agreement.
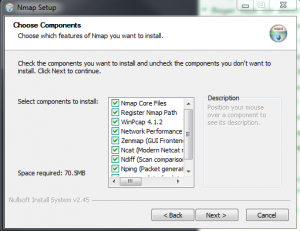
 Click next to choose the components to install.
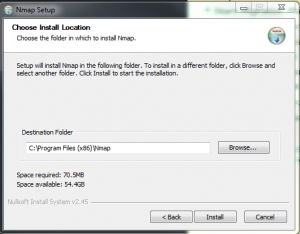
 For the installation destination you can accept the default C:\Program Files (x86)\Nmap or change it. My personal preference is to change it because Windows puts different permissions and restrictions that can sometimes mess with applications. If you are ok with the default, then click Install.
 The installation will start and at some point the WinPcap installation will popup and ask some questions. As with the Nmap install click I Agree to the license.
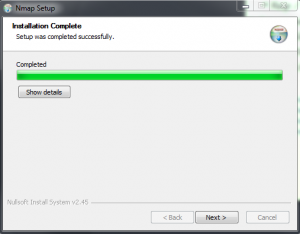
Click Next when the installation is completed.
 Next we will be prompted for the WinPcap startup options, which is needed to use Nmap. Click Next to accept the defaults.
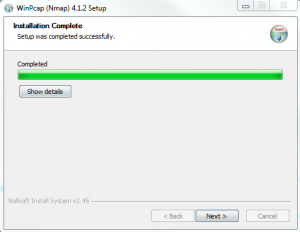
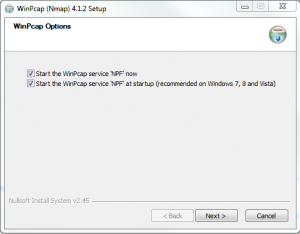 Click Finish to complete the WinPcap installation and Nmap installation will continue. Click Next to continue when you reach the installation completion screen.
For create shortcut you can accept the defaults for desktop and start menu folder and click next to continue.
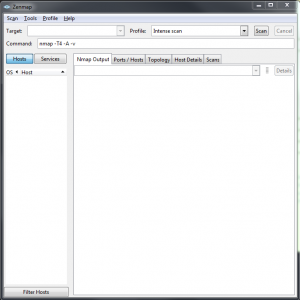
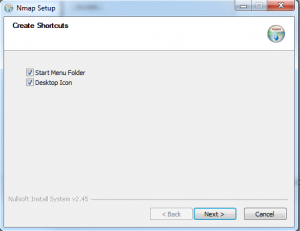 And finally click Finish and start using Nmap! You can access Nmap from the command line or the Nmap – Zenmap GUI from the Start Menu.






Leave a Reply