


How To Remove Hiss or Turntable rumble Using Audacity

Audio Restoration
Introduction
In an earlier post we covered How To Digitize Your Records Using Audacity, to further on we will cover how to remove hiss or turntable rumble from your recordings using Audacity’s noise reduction effect.
Process
So you have your record in Audacity and want to get ride of some of the hiss caused by your turntable. We can accomplish this using Noise Reduction effect in Audacity Effects.
Audacity’s Noise Removal effect is good at removing unwanted noise such as stylus hiss or turntable rumble from a vinyl record. This is usually the noise you hear between the songs.They are fairly easy to cleanup and just require a bit of patience.
First we need to create a noise profile
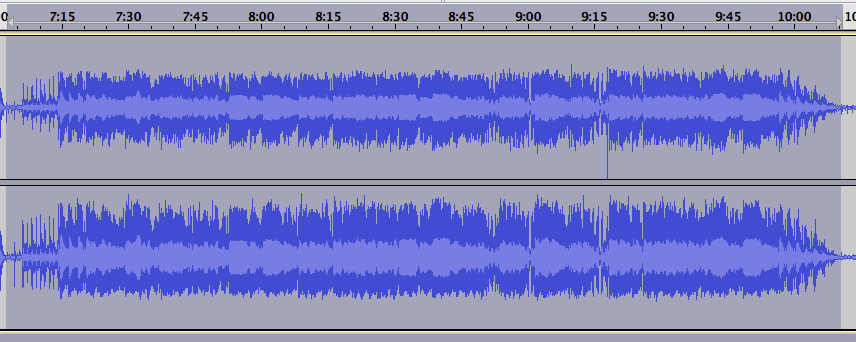
Select an area that noise is at but no music. You need this to create a noise profile.

Click Effect > Noise Reduction and click Get Noise Profile. Screen will flash and close. Now it is time to apply the profile. Select the section you wish to repair.
Click Effect > Noise Reduction. Now we can apply the profile to our selection. You can leave the default settings or make changes. Changes you make will help or can remove too much. Click ok to apply the change.
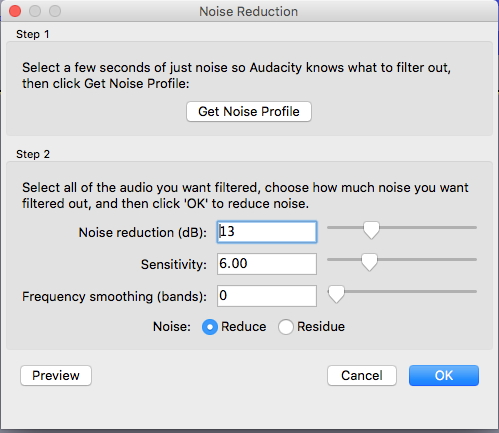
If you don’t like the results, press CTRL-Z (Windows / Linux), Command+Z (MAC) to undo, change some settings, and try it again. The default noise reduction level is −24 dB, which means frequencies identified as noise are attenuated by −24 dB. If this removes too much of the recording, set a higher decibel value, such as −20 dB, and try
it again. More than likely you won’t be able to erase the noise completely because doing so may erase things you want to keep, but you can lower it to where it’s not so noticeable.
The Frequency Smoothing slider is more surgical at smaller values and affects a wider range of frequencies as you move the slider right to set larger values. Try smaller values first, because they’ll affect less.
The Sensitivity time slider determines how fast the Noise Removal effect responds to change in the audio signal. For noise that is fairly steady, use a larger value. If the noise fluctuates rapidly, then use a smaller value for a faster response time.
Conclusion
Well there you go, another trick to clean up your captured audio using Audacity. Look for more posts on more tricks and tips!


Leave a Reply